
Electric Underfloor Heating
for a Ground Floor Retrofit
With an occupied family home requiring a modern, efficient heating system, Rayotec delivered a full ground floor electric underfloor heating installation — minimal mess, maximum coverage, completed in just 3 days.
The Challenge
Installing electric underfloor heating in a home that is actively lived in demands a different discipline. Before any work begins, Rayotec carries out a site visit to discuss the installation needs with the client in detail — understanding the layout, agreeing coverage areas, and setting expectations. Speed matters, disruption must be minimised, and every decision needs to be made with the client — not around them.
The client’s priorities were clear from the outset:
- Complete the installation quickly with minimal mess and disruption to daily life
- Achieve maximum mat coverage throughout ground floor rooms for even heat distribution
- Position thermostats at low level to reduce wall channelling to a minimum
- Build up floor height to suit planned large furniture while ensuring adequate mat coverage throughout
- Coordinate effectively with an independent floor fitter and remain available when the client needed us
The Rayotec Solution
Rayotec specified a Webtech 150W/m² heating mat system paired with 10mm Insomax insulation boards — the thicker board delivering the best available thermal performance and providing the floor height build-up the client required. A first coat of latex was applied over the mats to encapsulate the system, with the floor fitter completing a second skim prior to laying the Amtico finish.
Coverage areas and thermostat locations were agreed room by room with the client before any work began, ensuring mat positions avoided fixed furniture zones and thermostat chases were kept to an absolute minimum. When delays from the floor fitter arose, Rayotec remained flexible and available when the client needed us.
The Result
The client was delighted with the finished system. Even heat distribution across the entire ground floor, smart WiFi thermostats providing remote scheduling and control — all delivered in three days with minimal disruption to the household.
The 10mm Insomax boards delivered the best available insulation performance, reducing warm-up times and directing heat efficiently upward rather than into the subfloor. Rayotec left the floor fully encapsulated and ready for the floor fitter to apply the second skim of latex before laying the Amtico finish.
Why Occupied Retrofits Require a Different Approach
Retrofitting underfloor heating into a lived-in home is entirely achievable — but it demands careful planning, clear communication with the client, and the flexibility to respond when other trades cause delays. Cutting corners on any of these risks a difficult installation and an unhappy client.
Electric systems are particularly well suited to retrofit projects: no boiler upgrades, no pipework modifications, and no wet trades. With the right insulation and a methodical approach, electric underfloor heating can be installed cleanly and quickly even in a fully occupied property.
How the Installation Came Together
The full installation was completed in three days alongside coordination with an independent floor fitter — electrics on day one, system installation over days two and three.
All electrical work was completed on day one — connections made as needed, and thermostat back-box positions agreed with the client to minimise the depth of chasing required. Getting the electrics right first ensures a clean, uninterrupted installation of the heating system to follow.
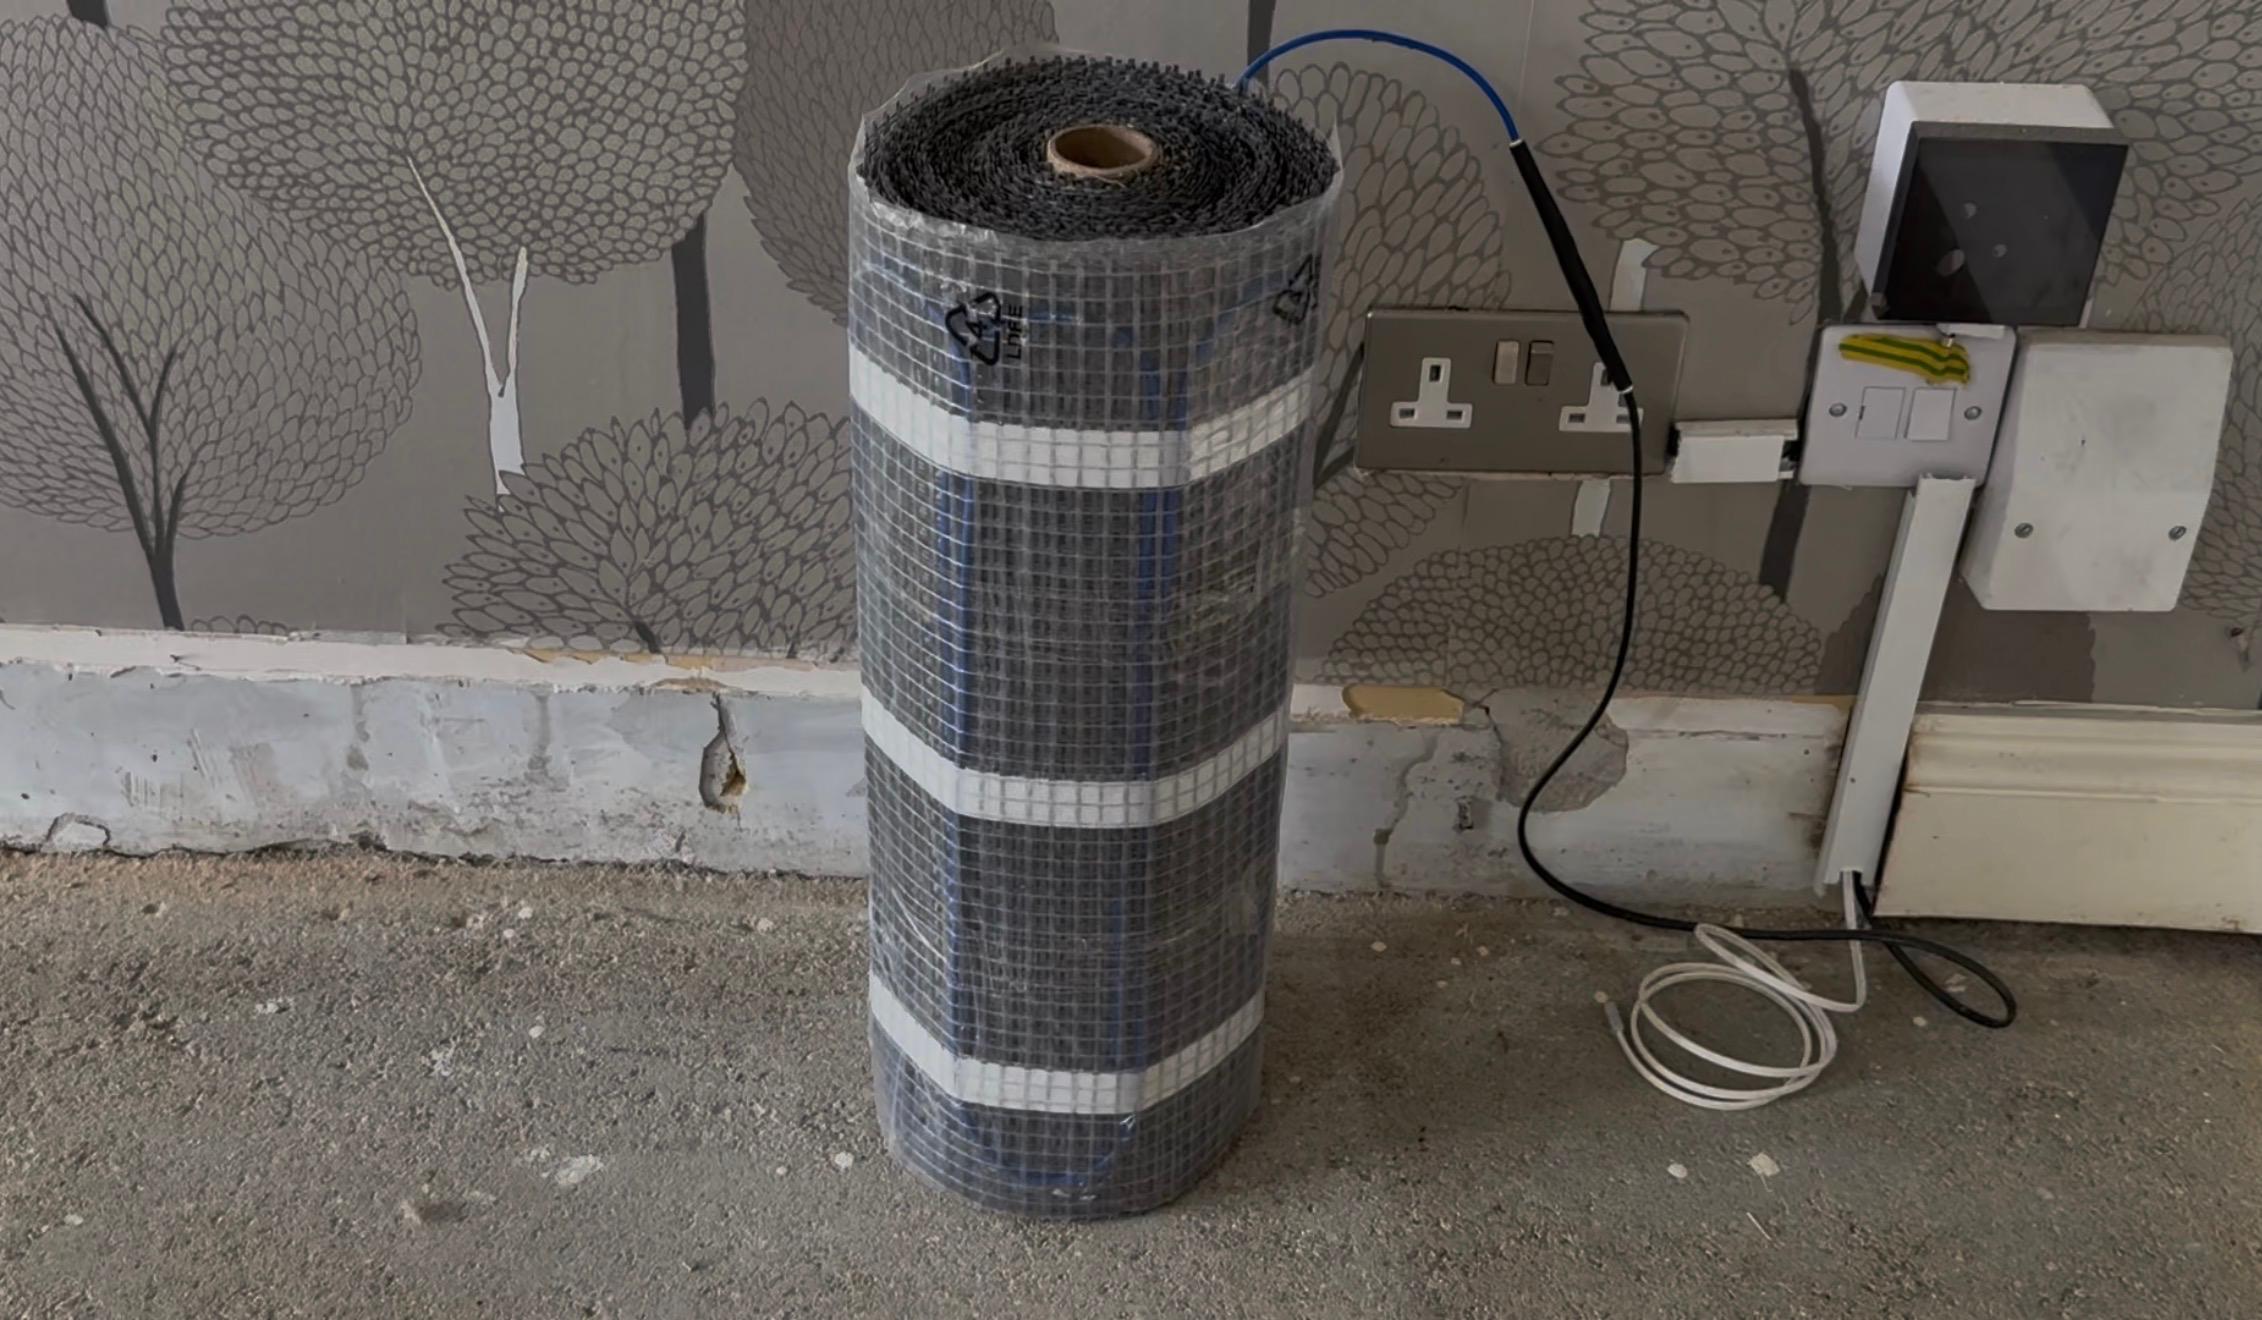
Electrical connections made and thermostat locations confirmed with the client
With the existing floor covering removed by the floor fitter, subfloors were thoroughly cleaned and primed across all ground floor areas before any boards were laid. A clean, properly primed substrate is the foundation of a reliable, long-lasting installation — a step that should never be rushed.
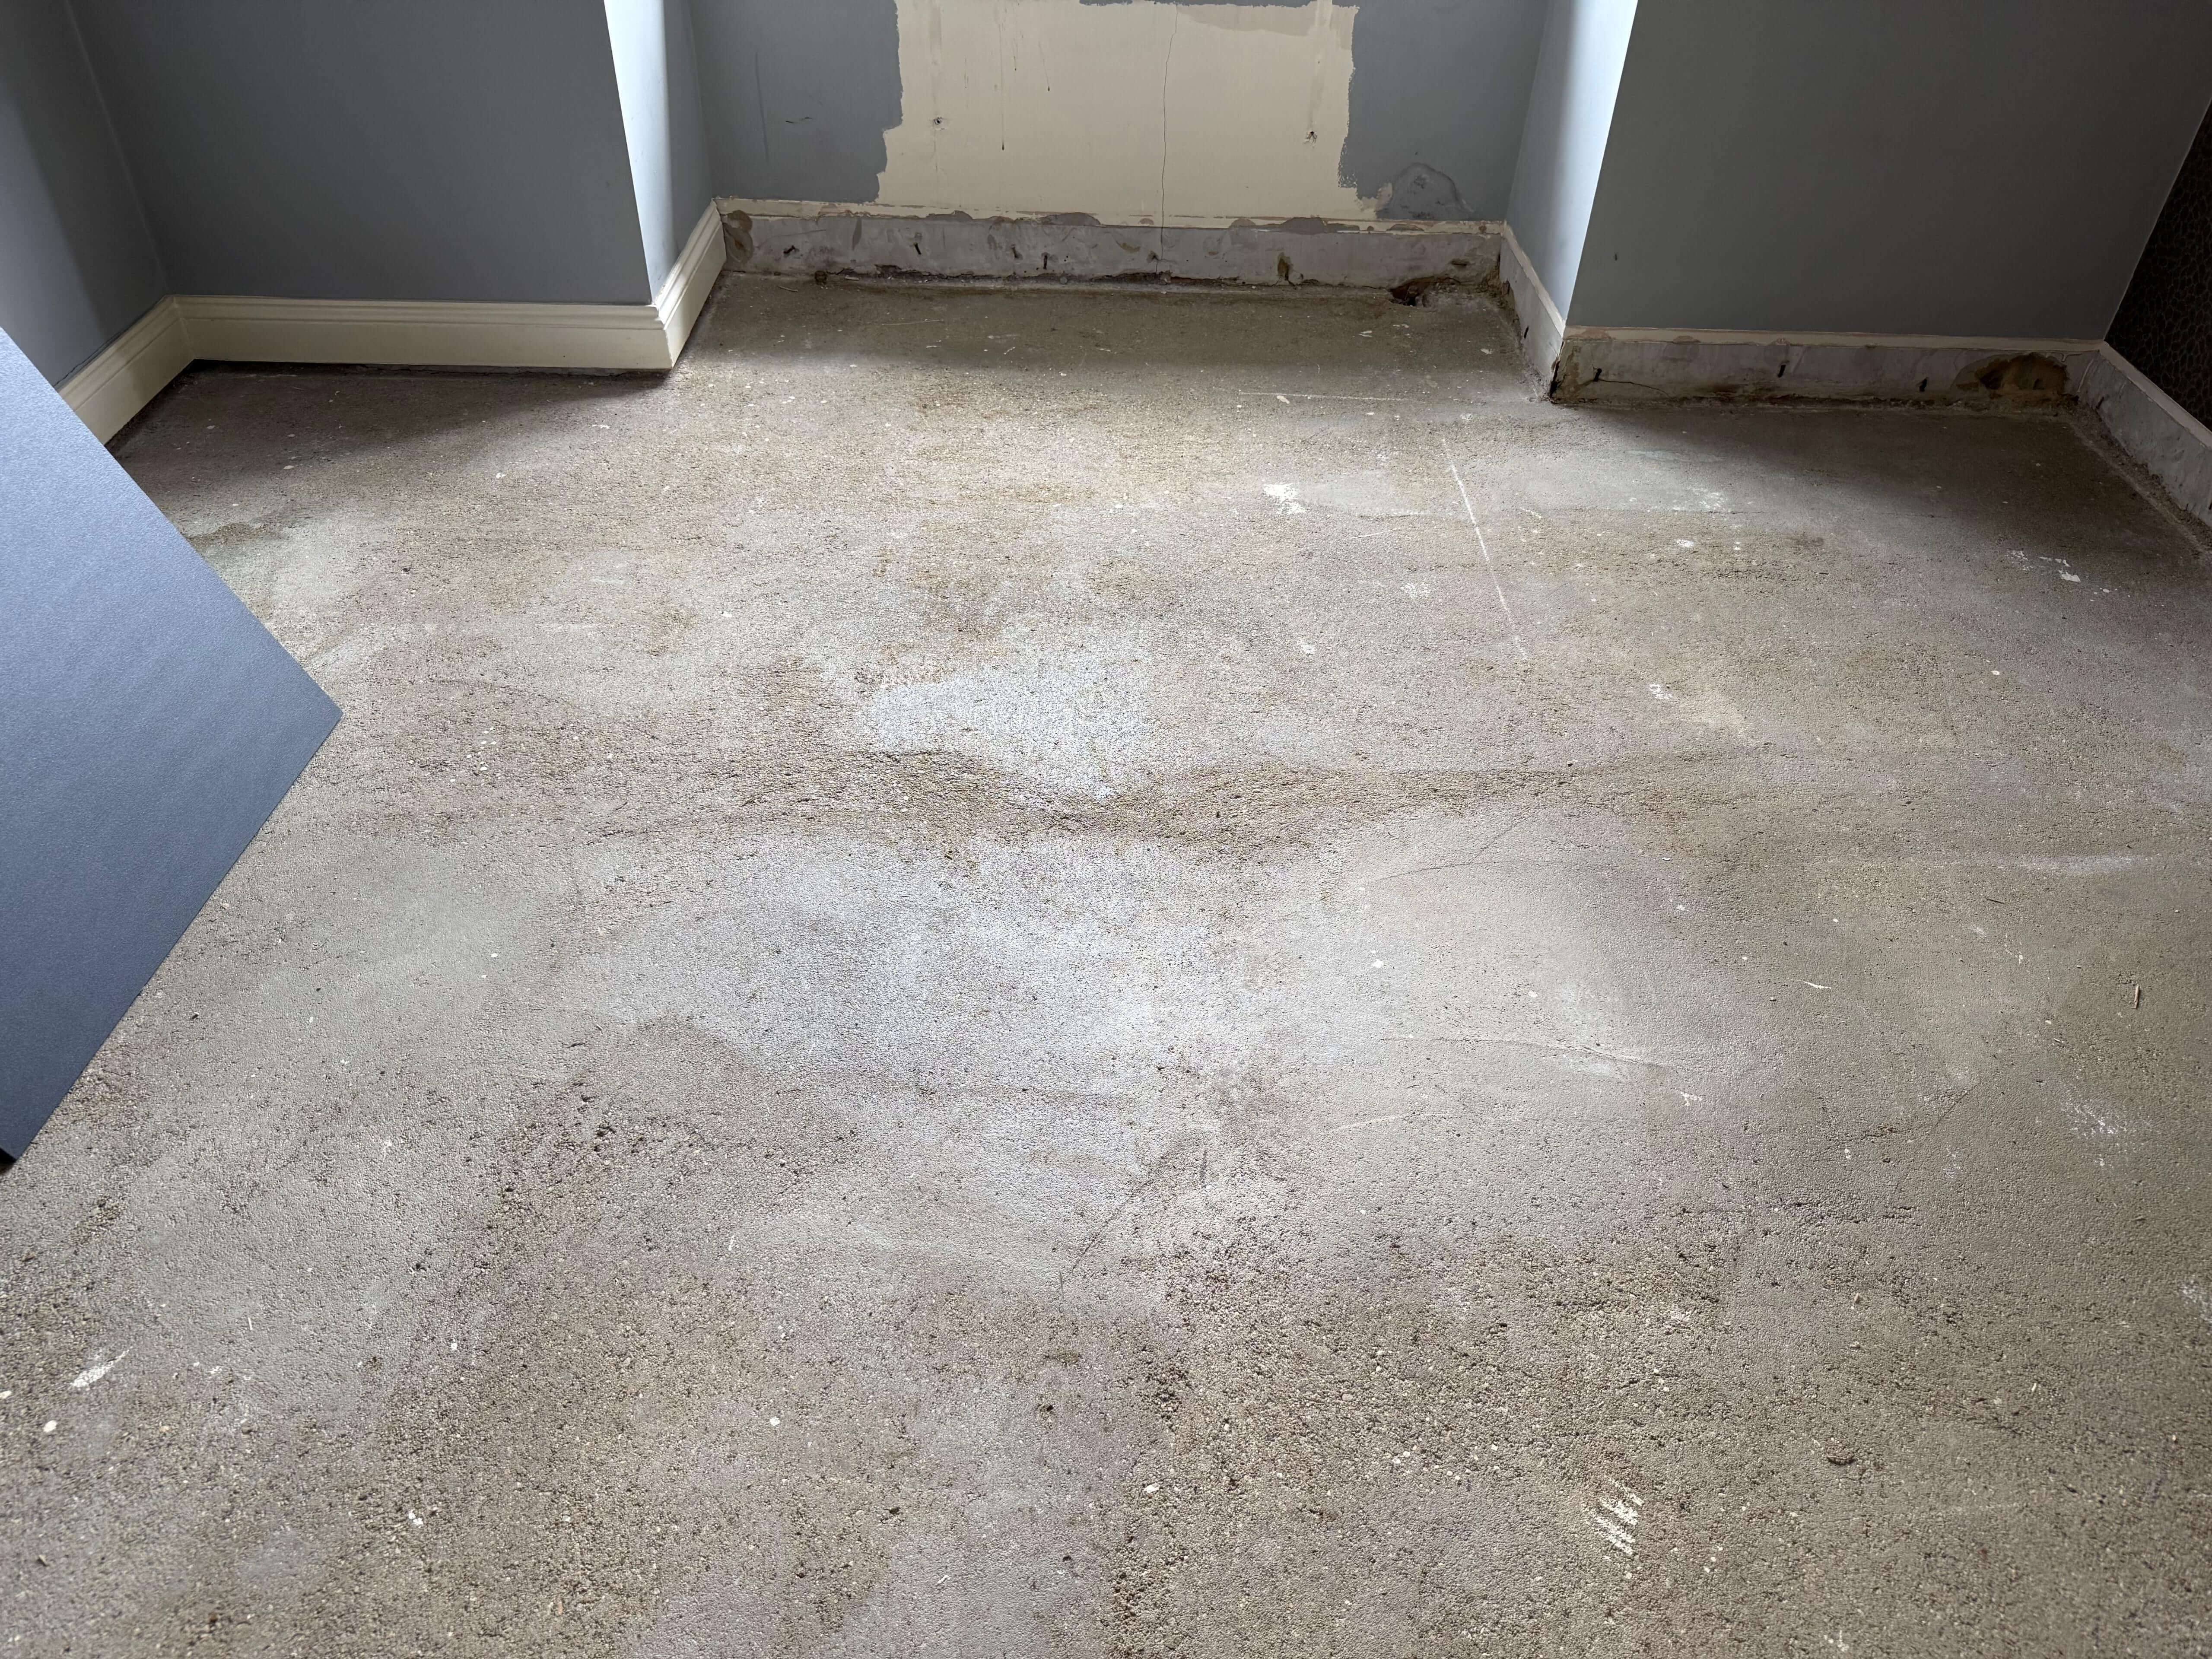
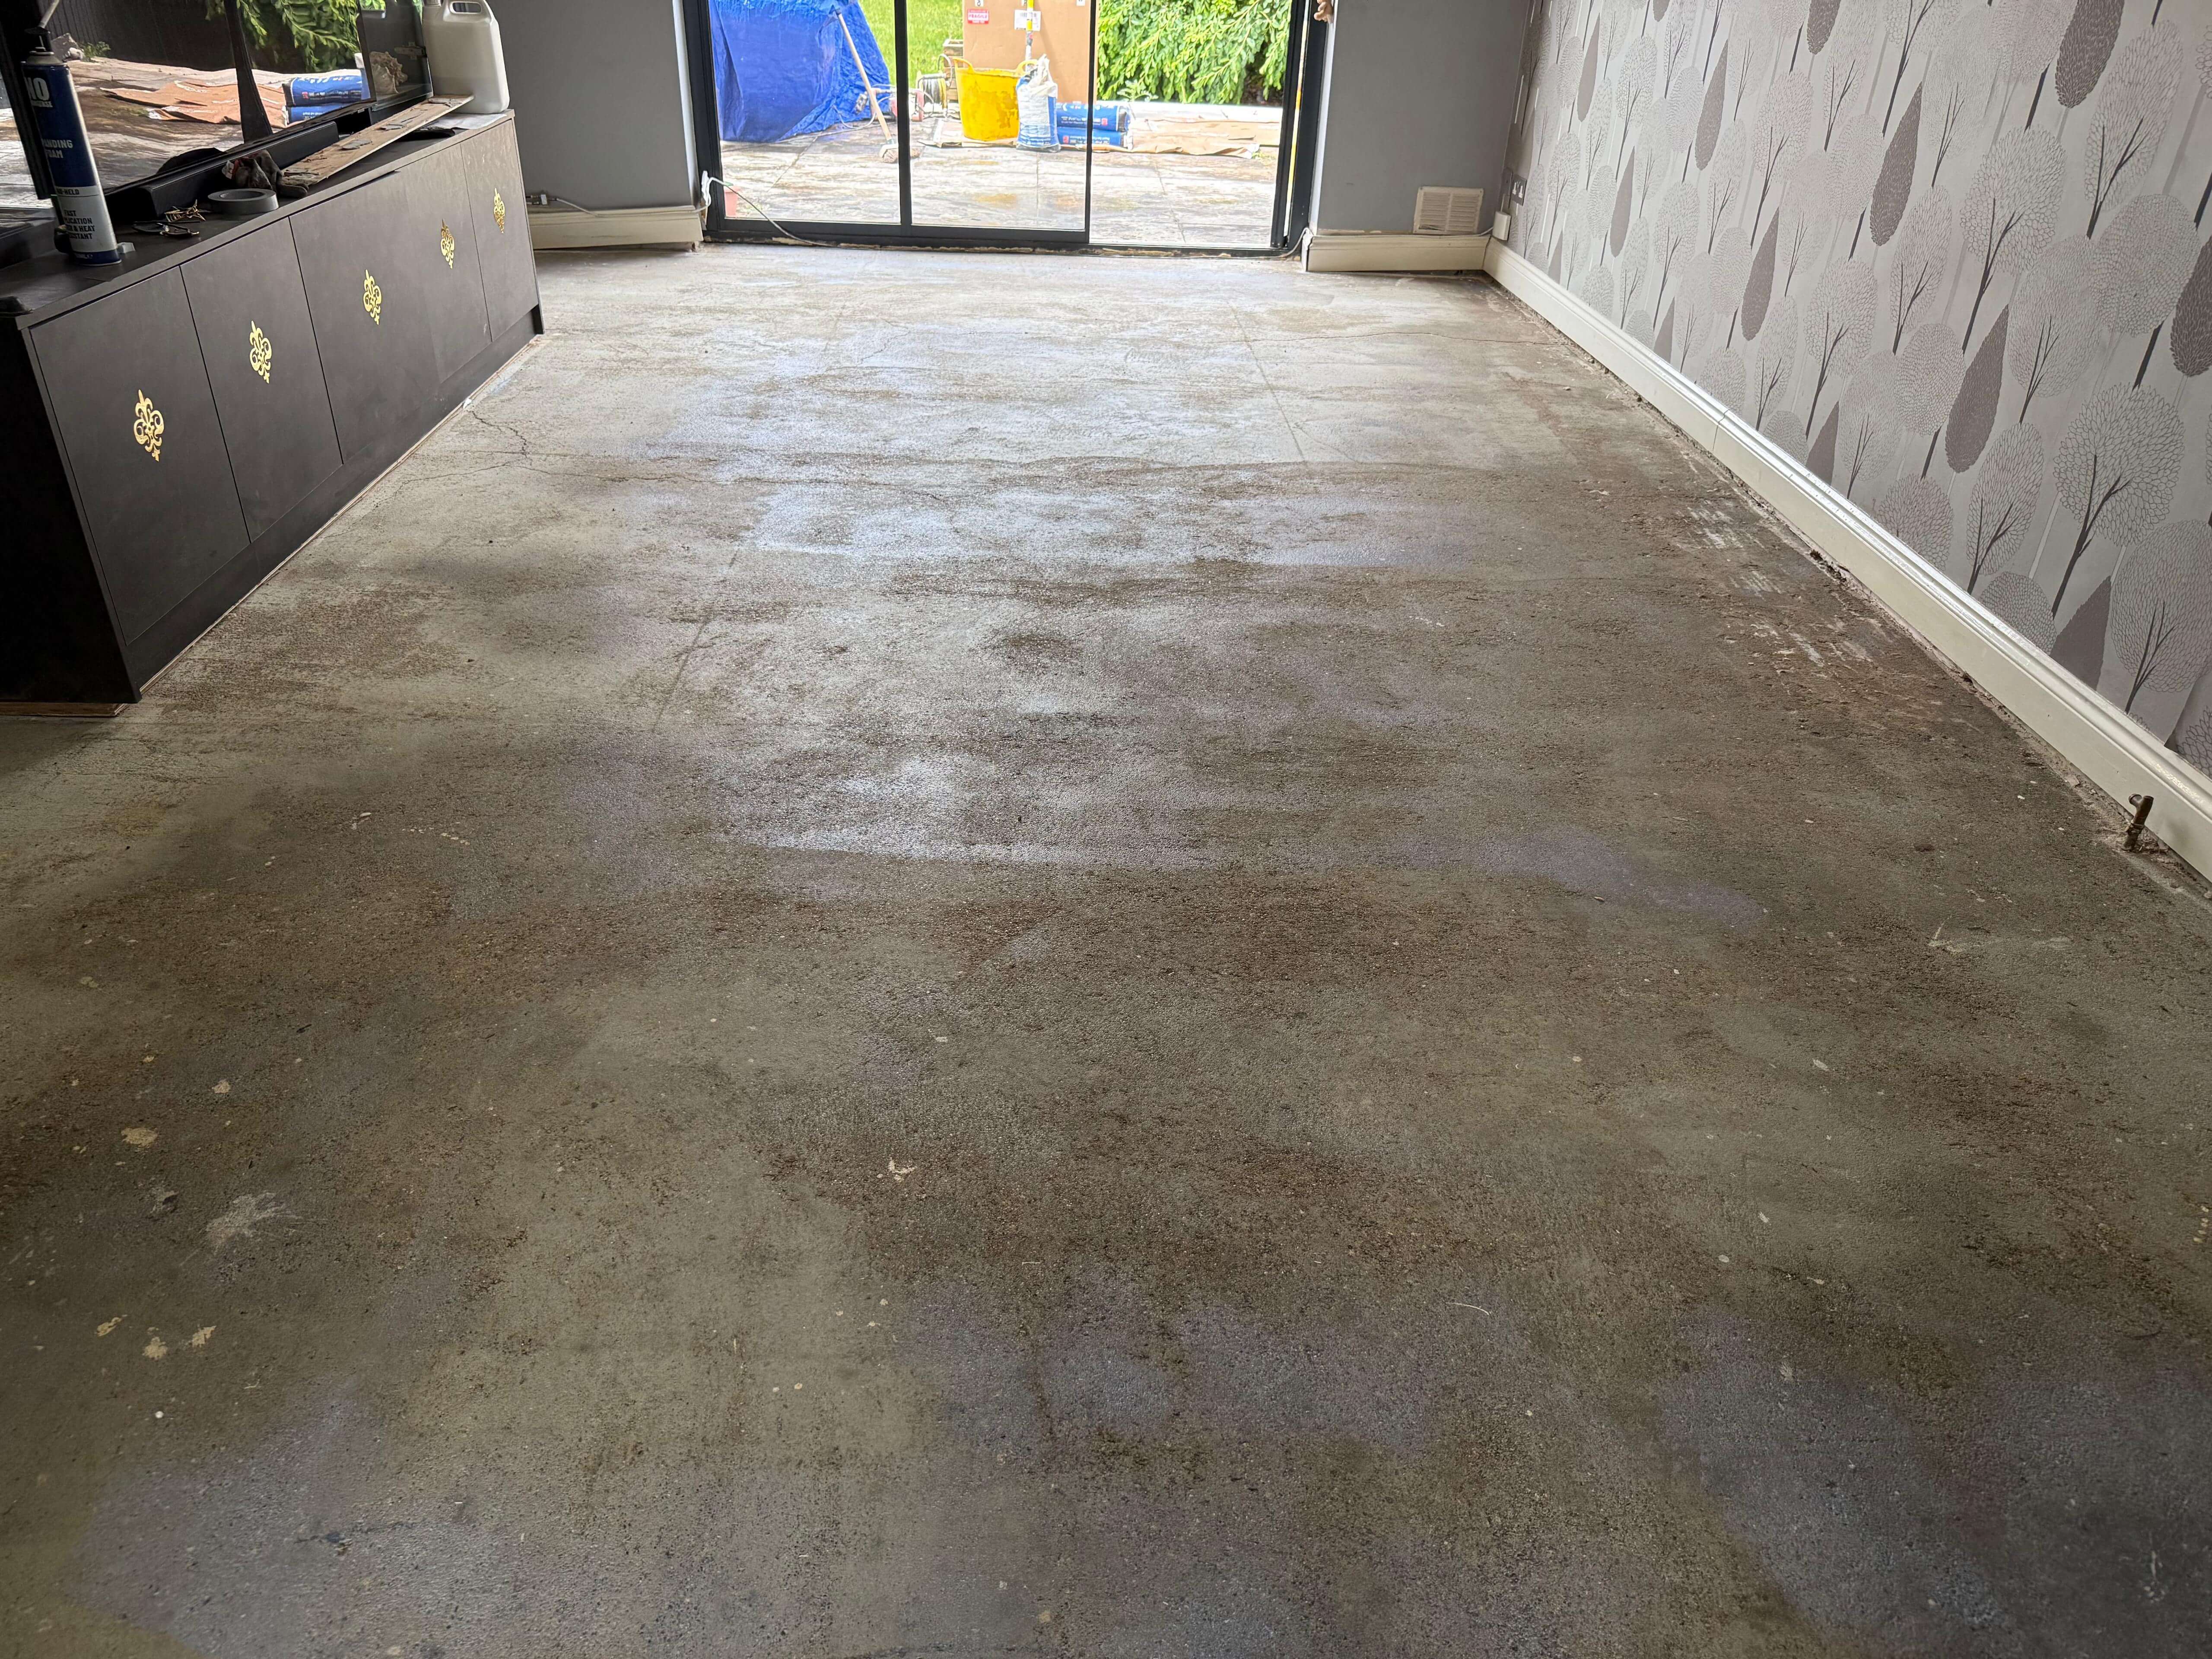
Ground floor subfloors cleaned and primed ready for boarding
10mm Insomax insulation boards were laid throughout using flexible tile adhesive — the thicker board chosen deliberately to maximise thermal performance and achieve the floor height build-up required by the client. Insomax directs heat upward efficiently, reducing warm-up times and cutting running costs. It is the step that separates a high-performing installation from an average one.
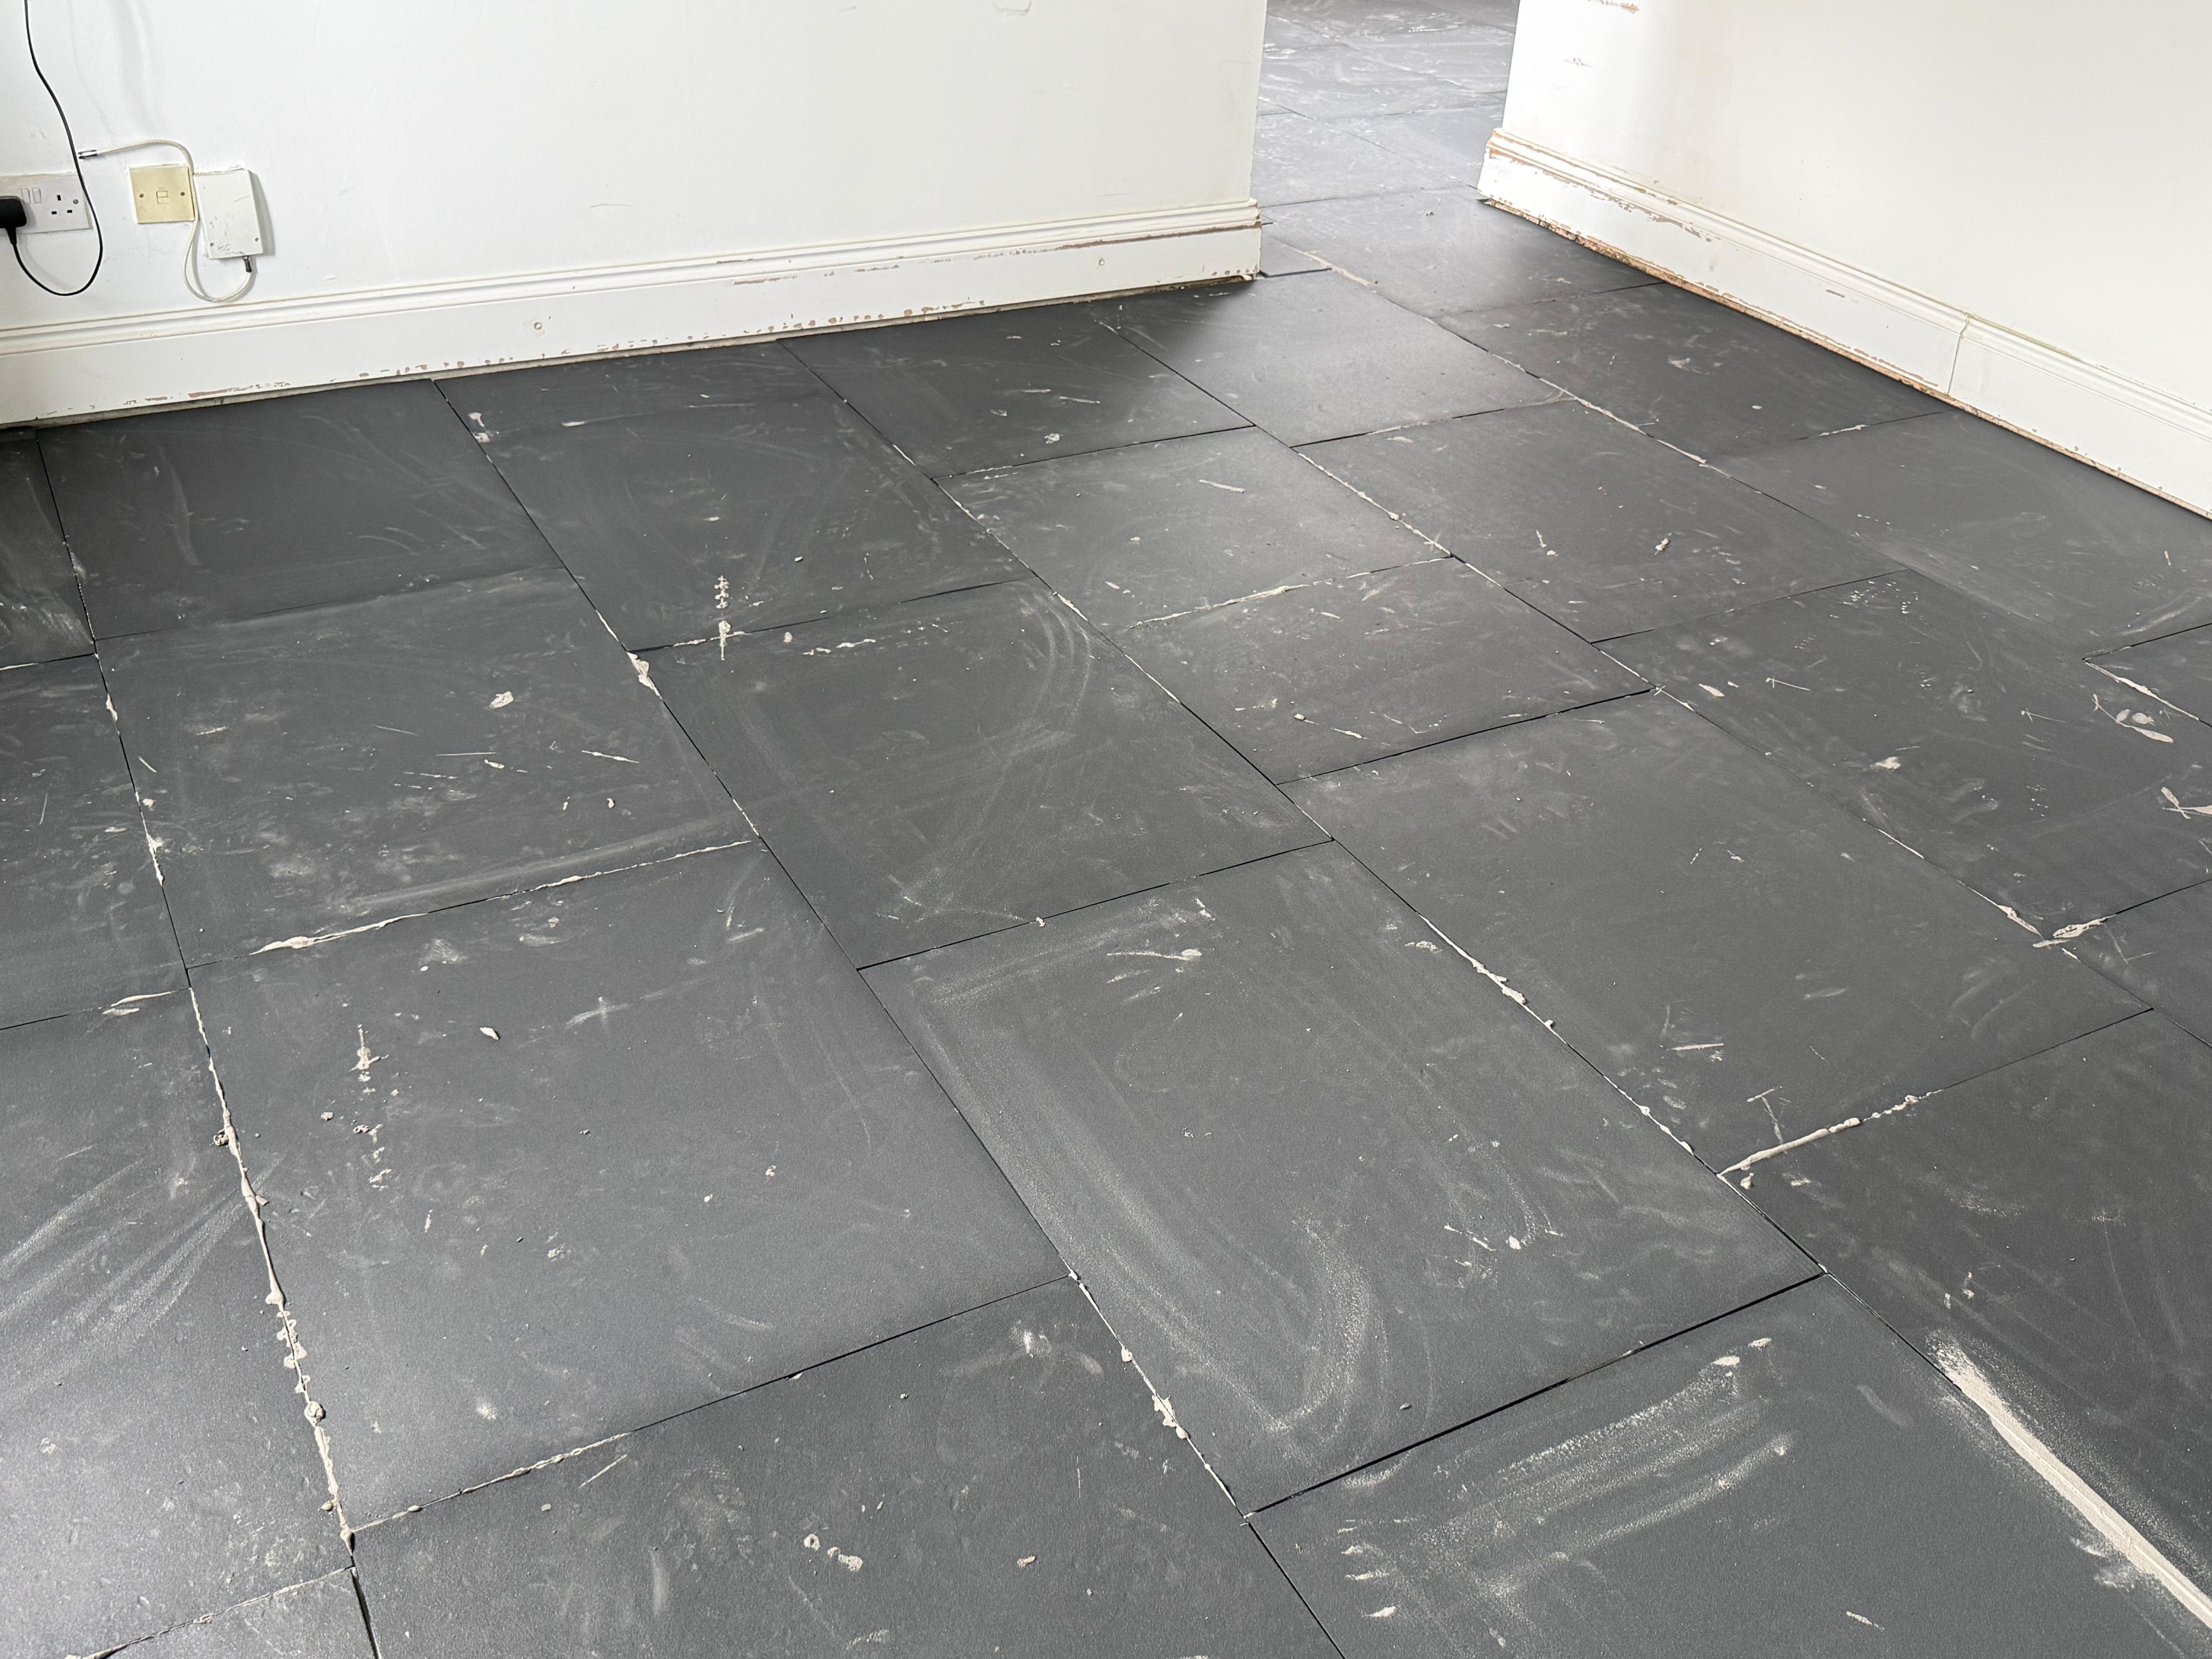
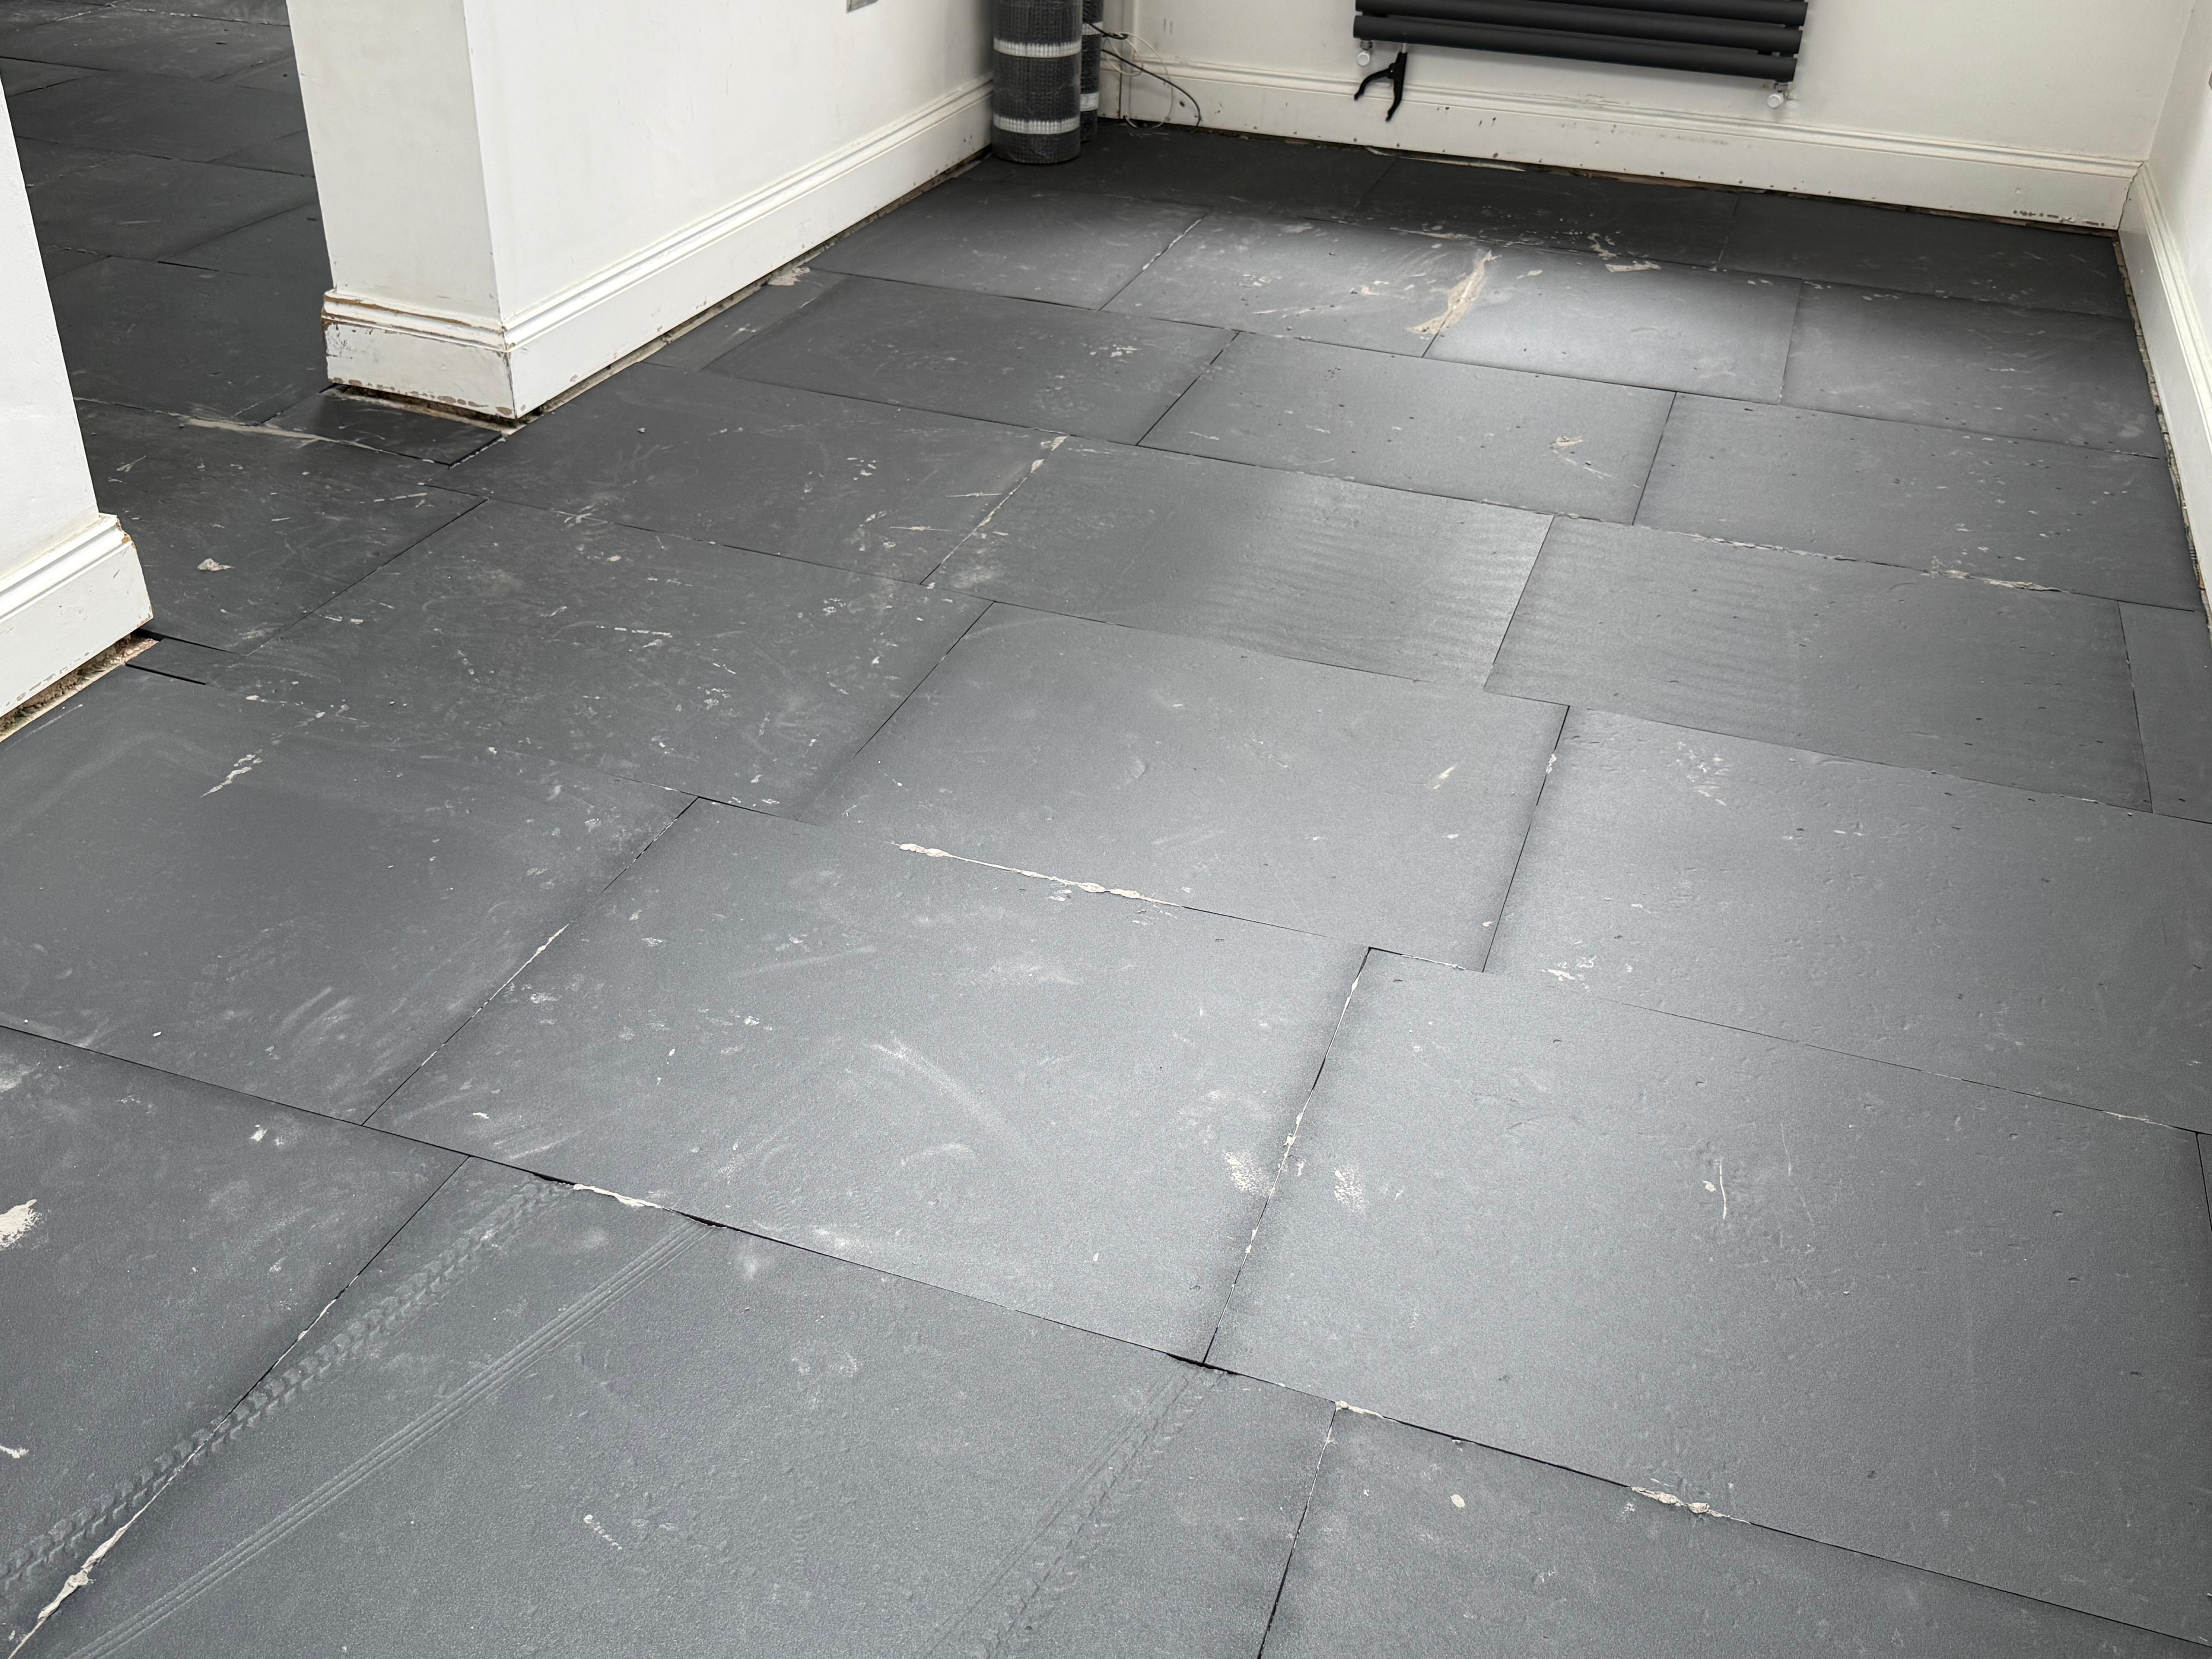
10mm Insomax boards installed across all heated areas with flexible tile adhesive
Webtech 150W/m² heating mats were installed methodically through each ground floor room, with coverage areas planned in advance to work around fixed furniture positions and maximise the effective heated floor area. Each mat was electrically tested before proceeding to ensure every element was intact prior to encapsulation.
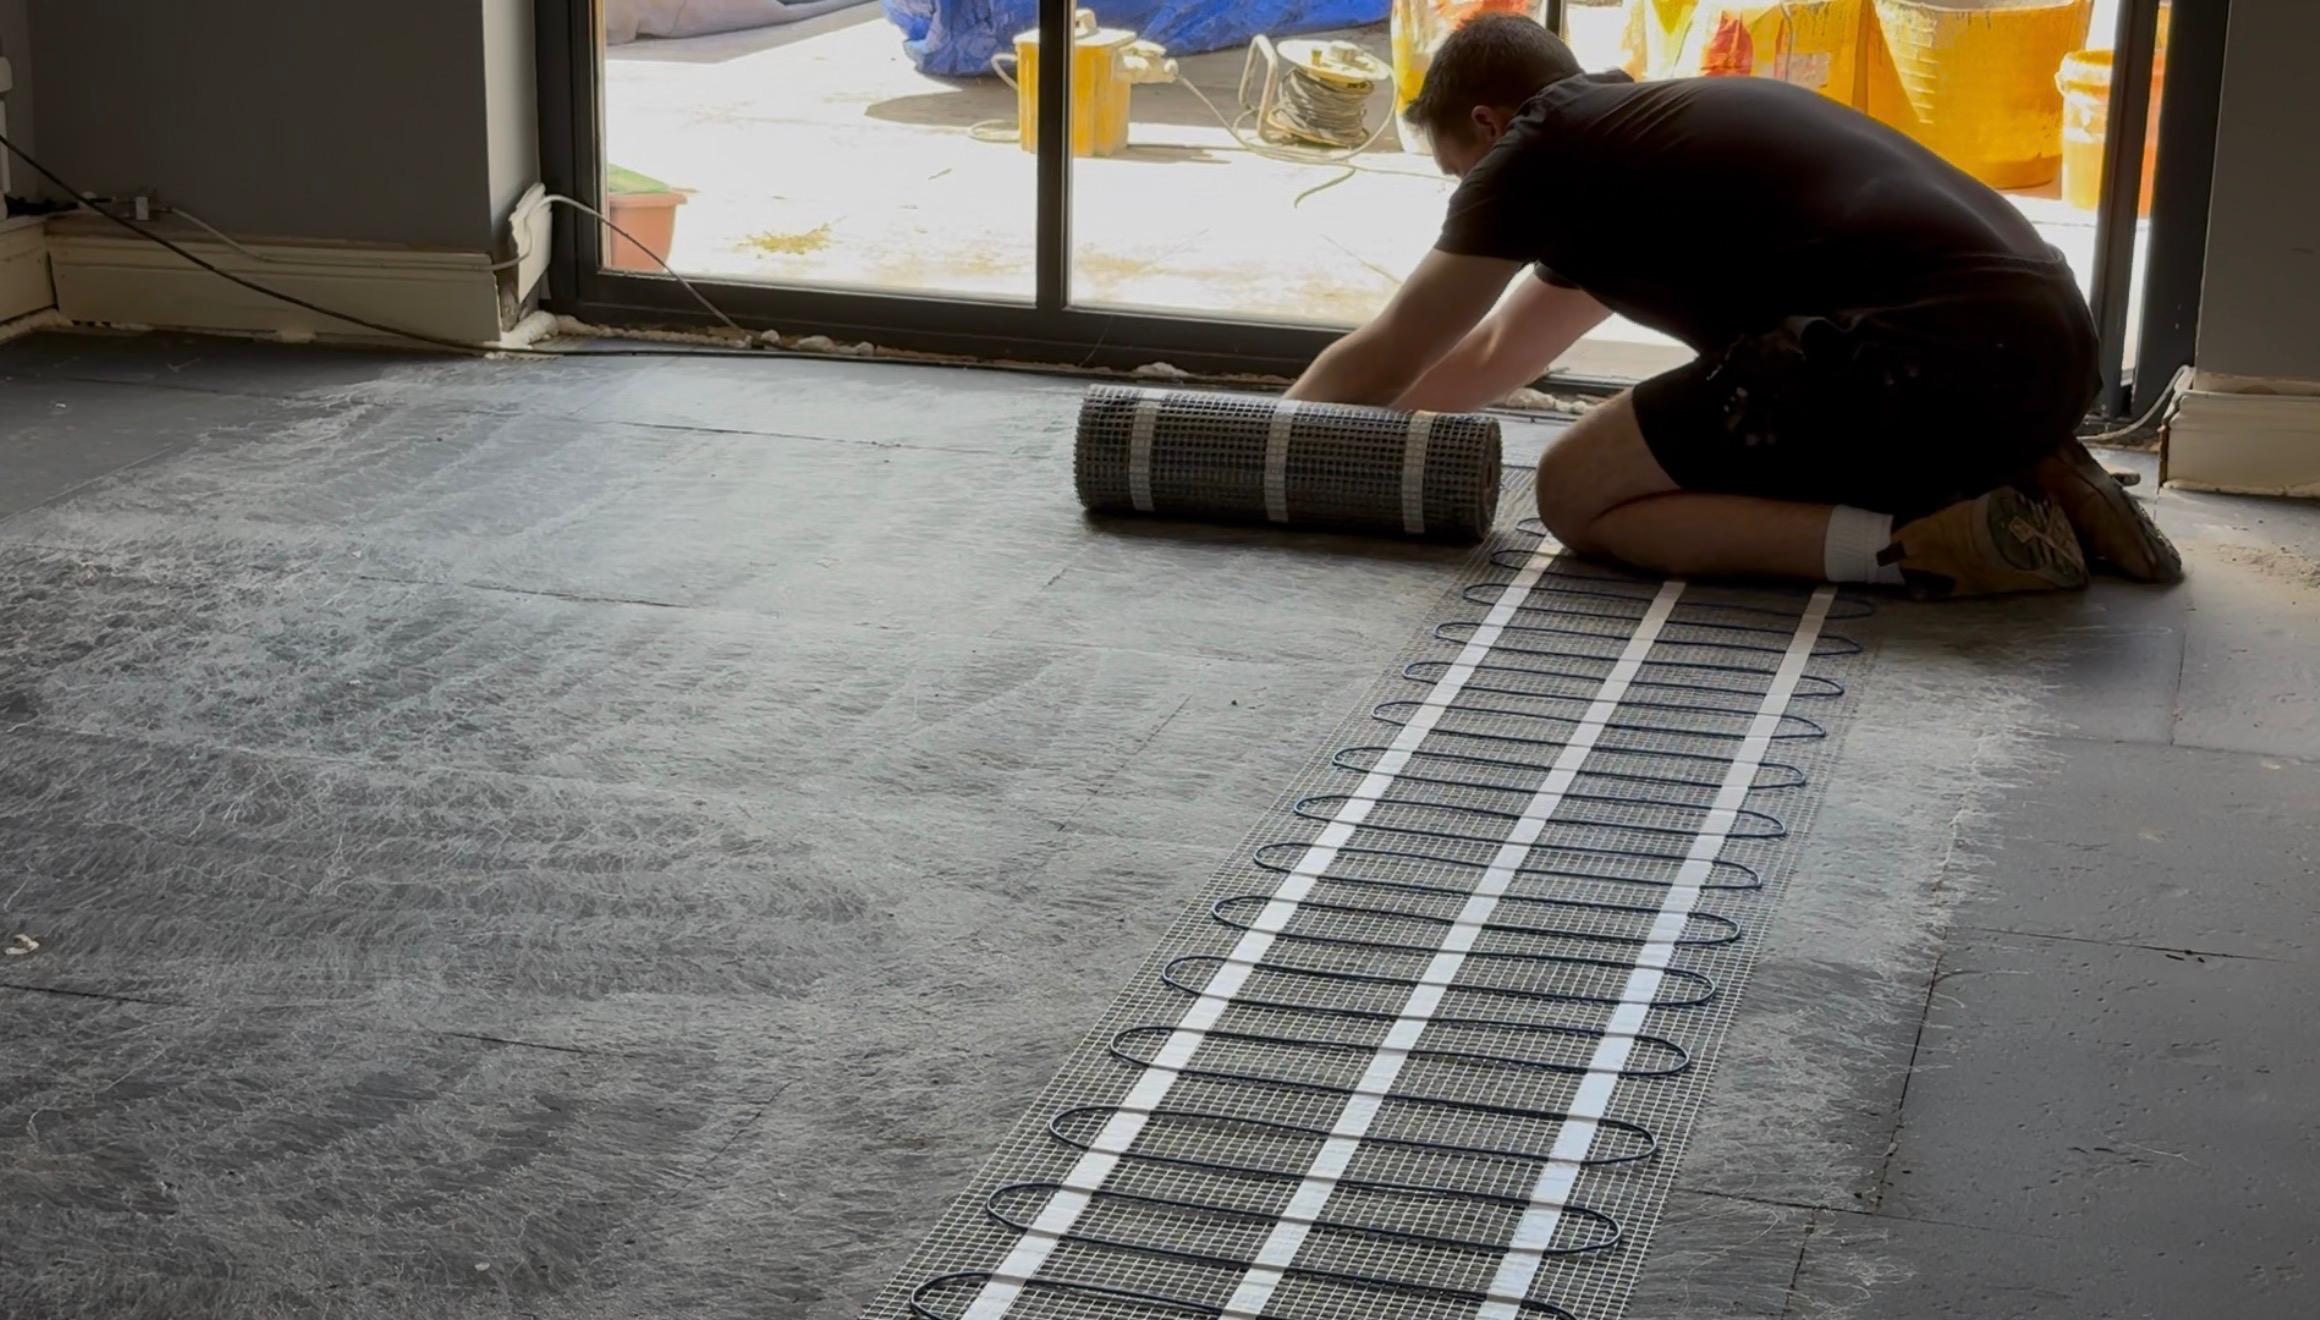
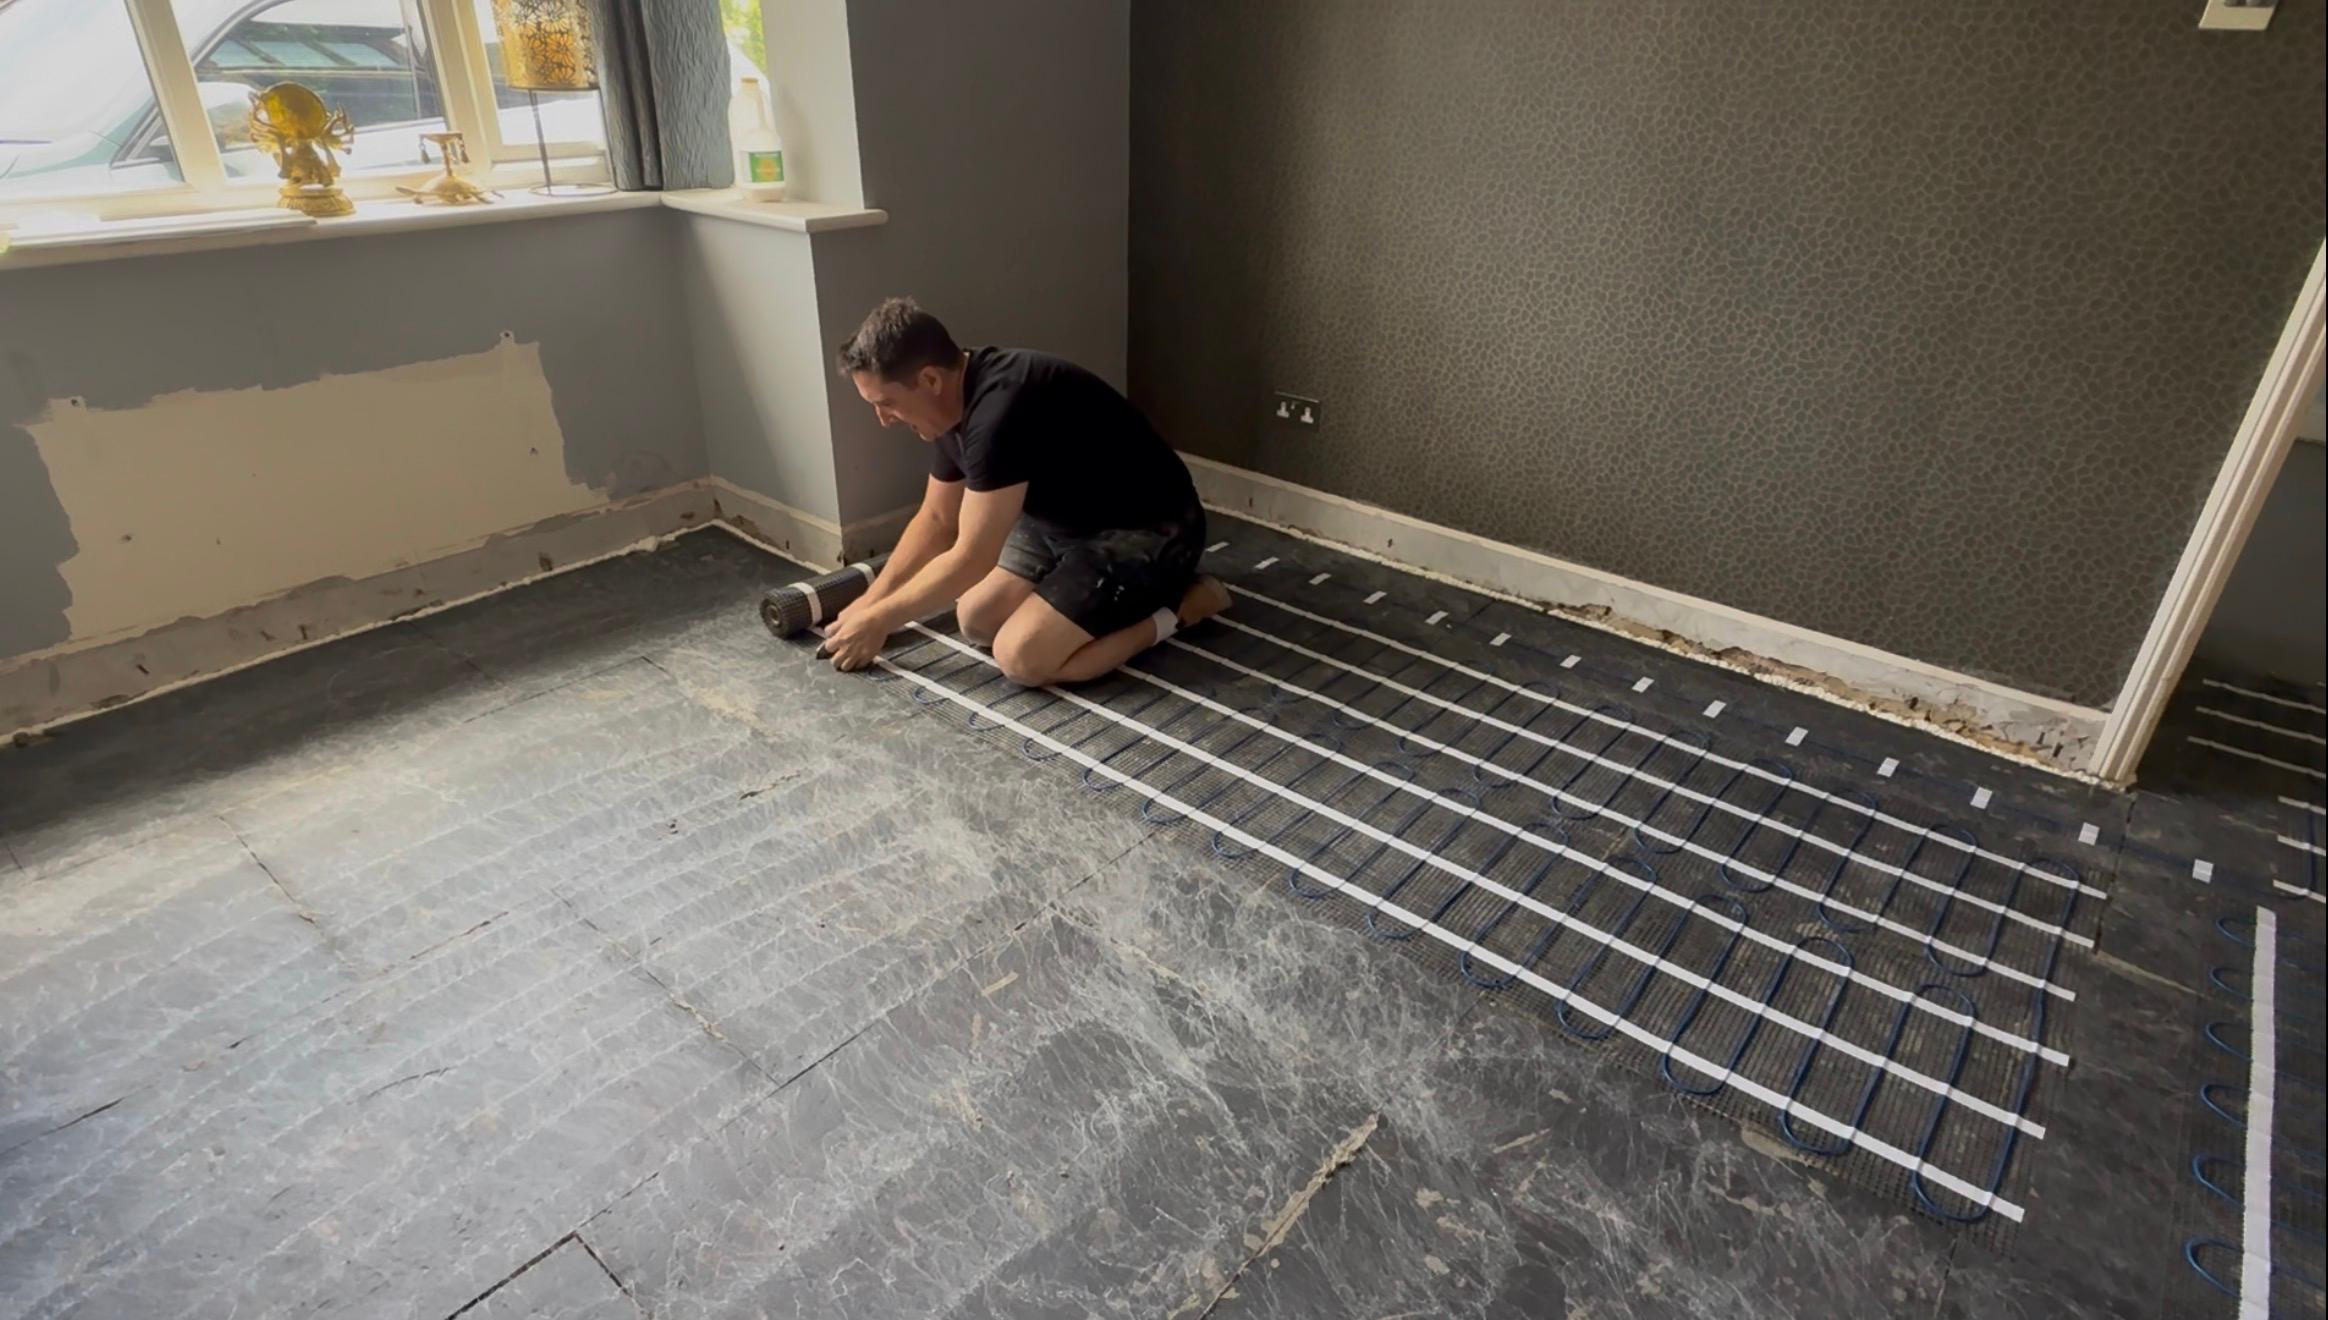
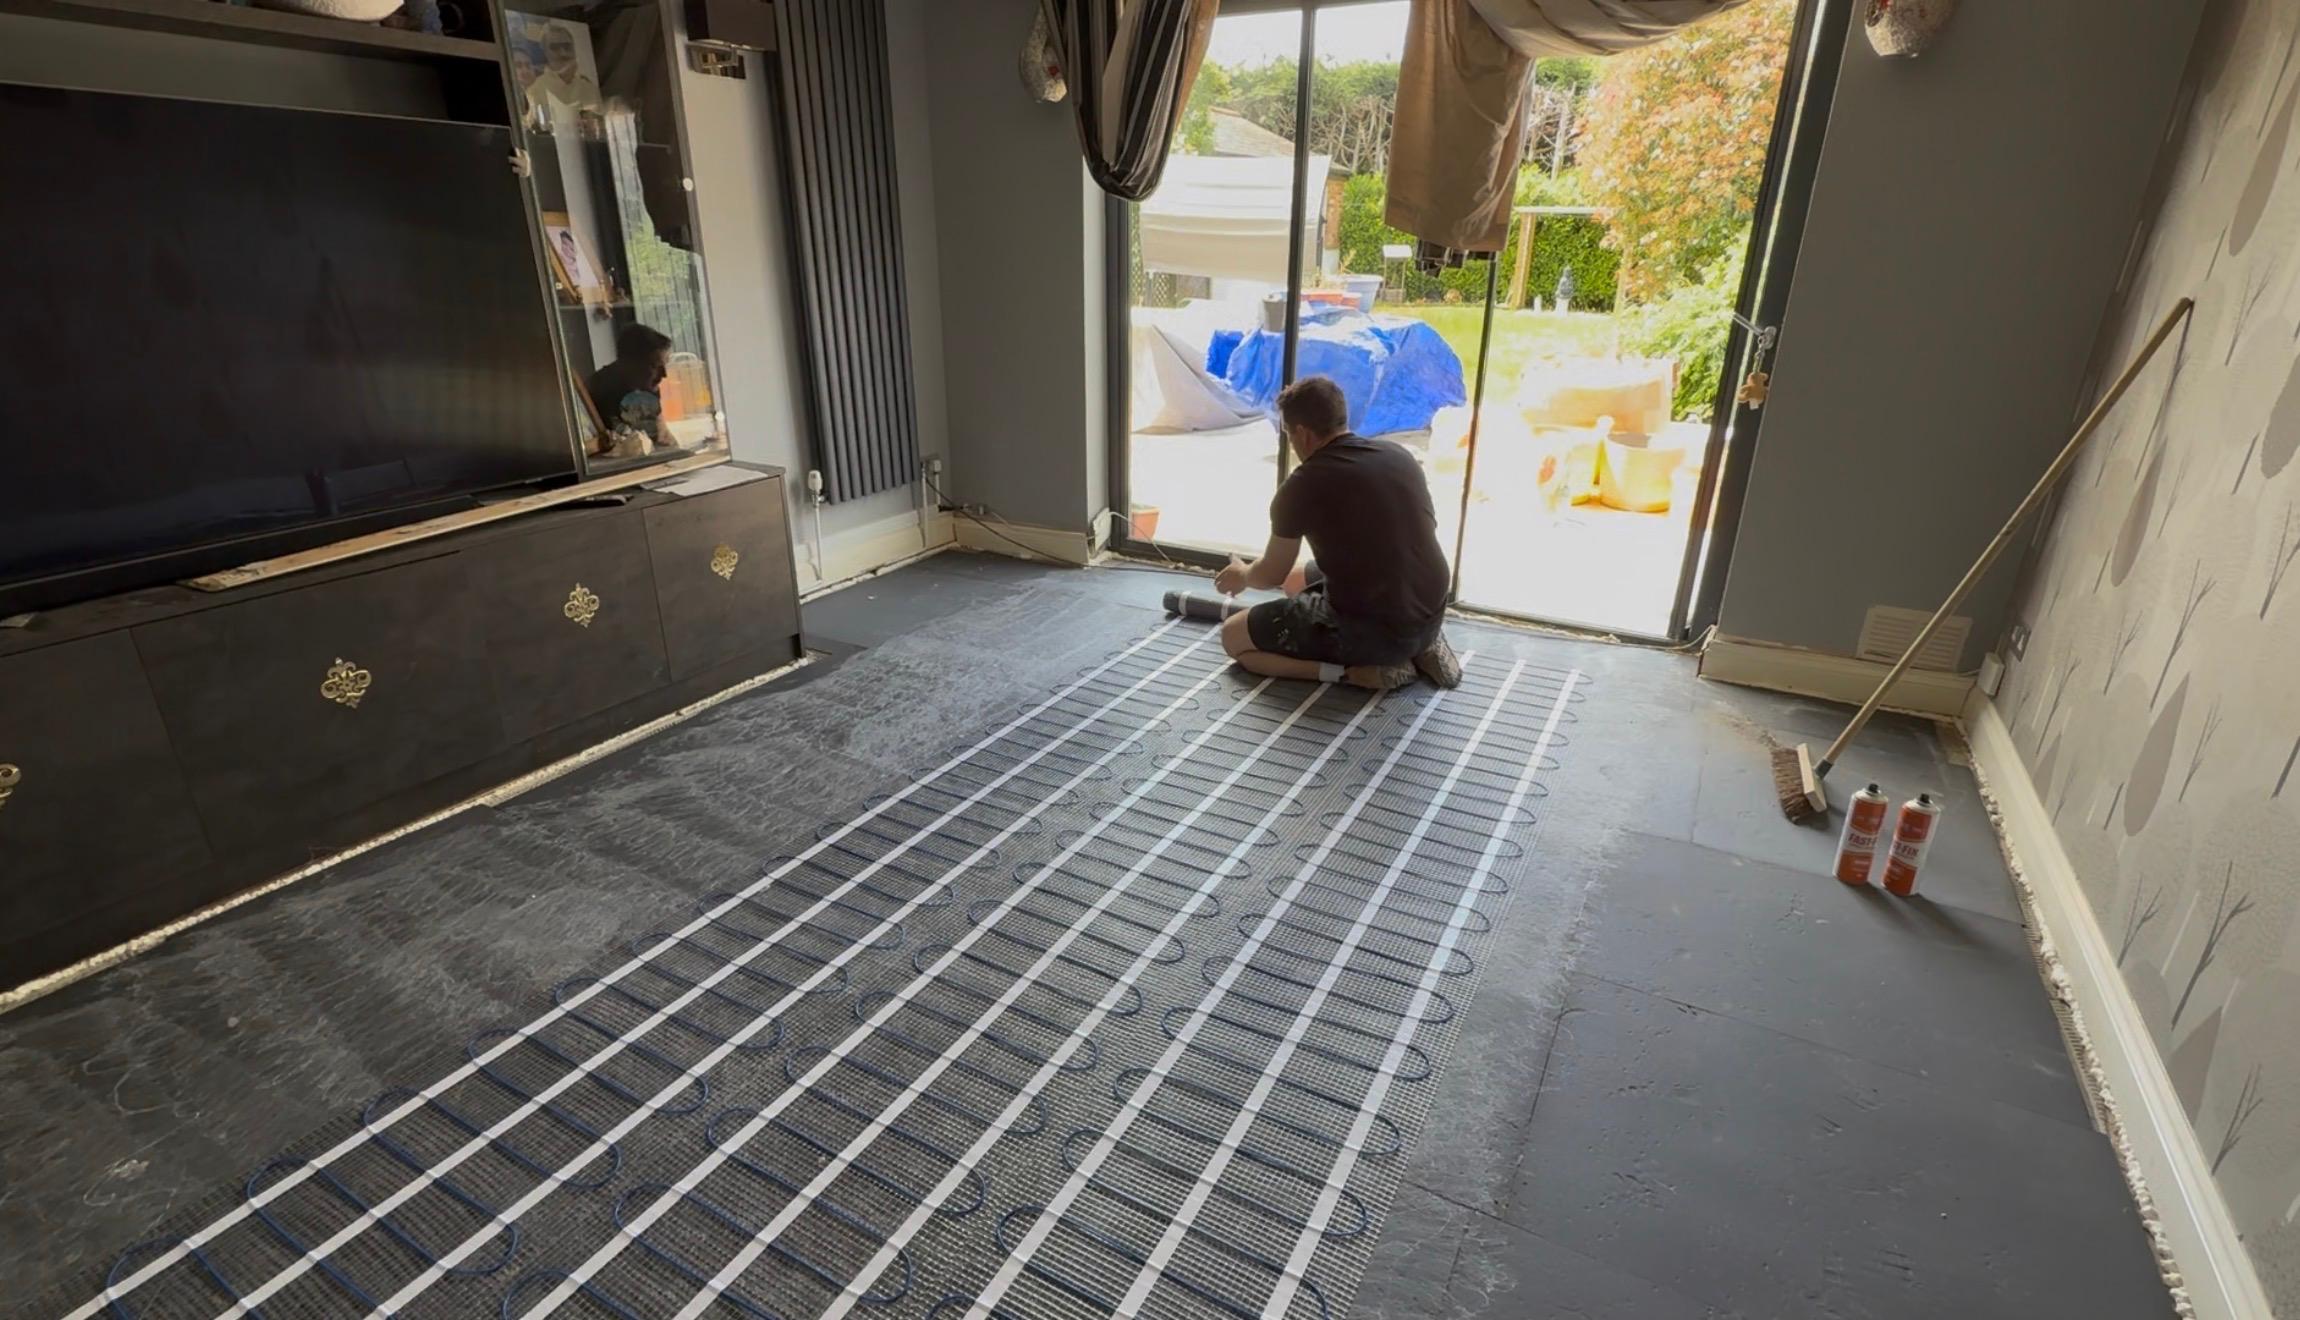
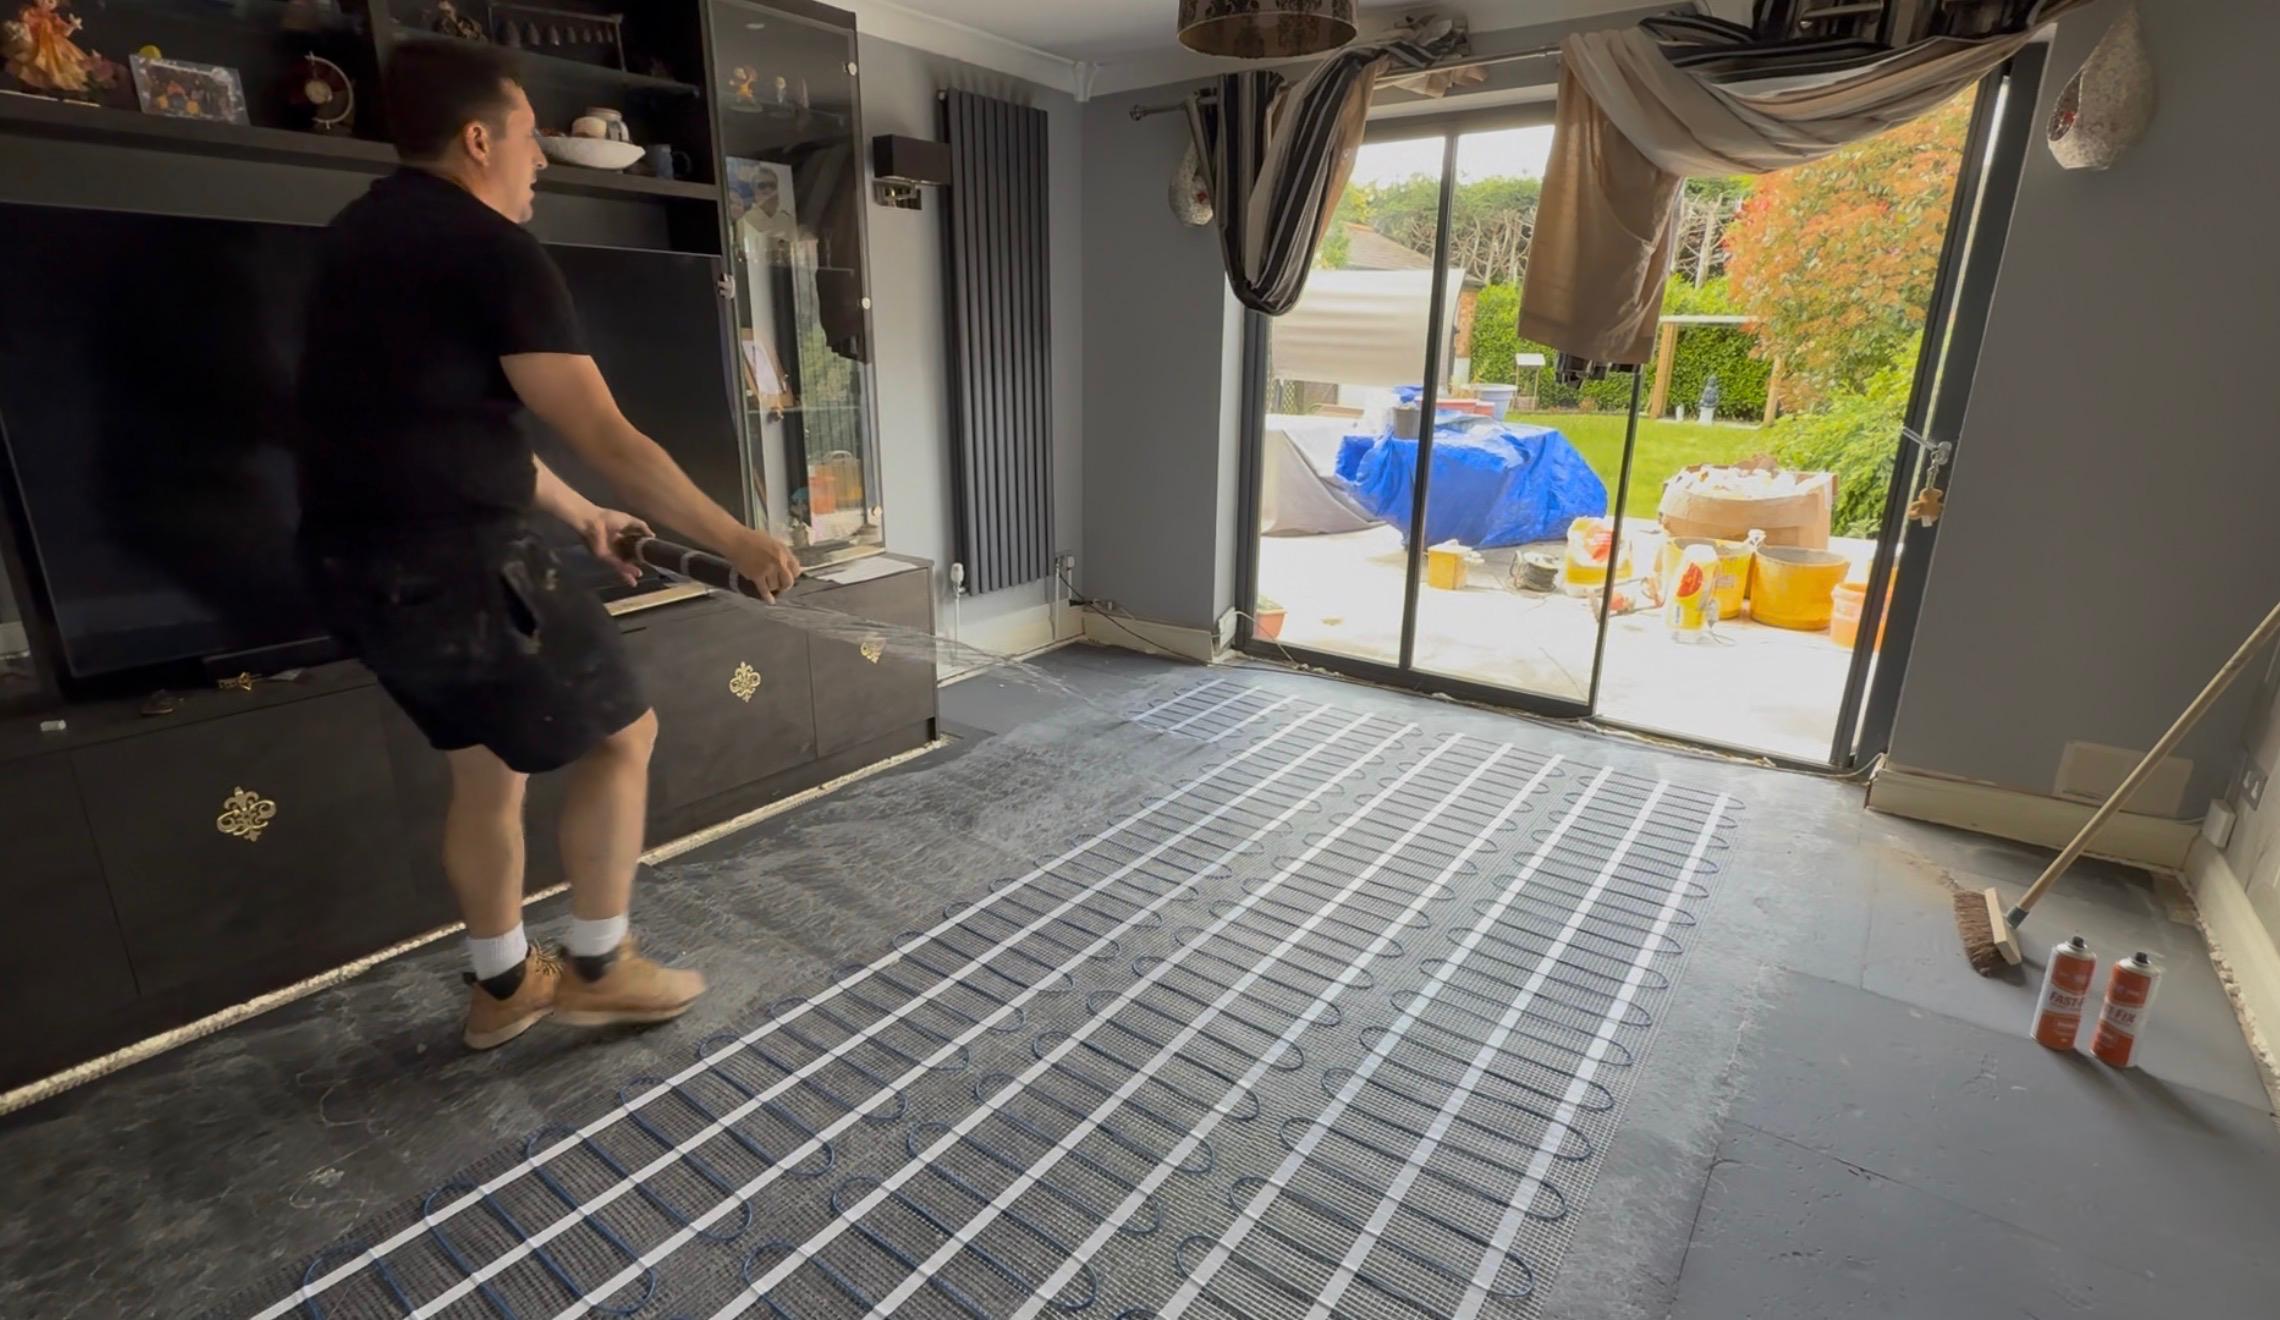
Webtech 150W mats installed across living, kitchen and dining areas
A first skim of self-levelling latex was poured over the heating mats to fully encapsulate the system and create a smooth, protected surface. A second skim is then applied by the floor fitter prior to laying the Amtico, ensuring a perfectly flat base and a clean handover between trades.
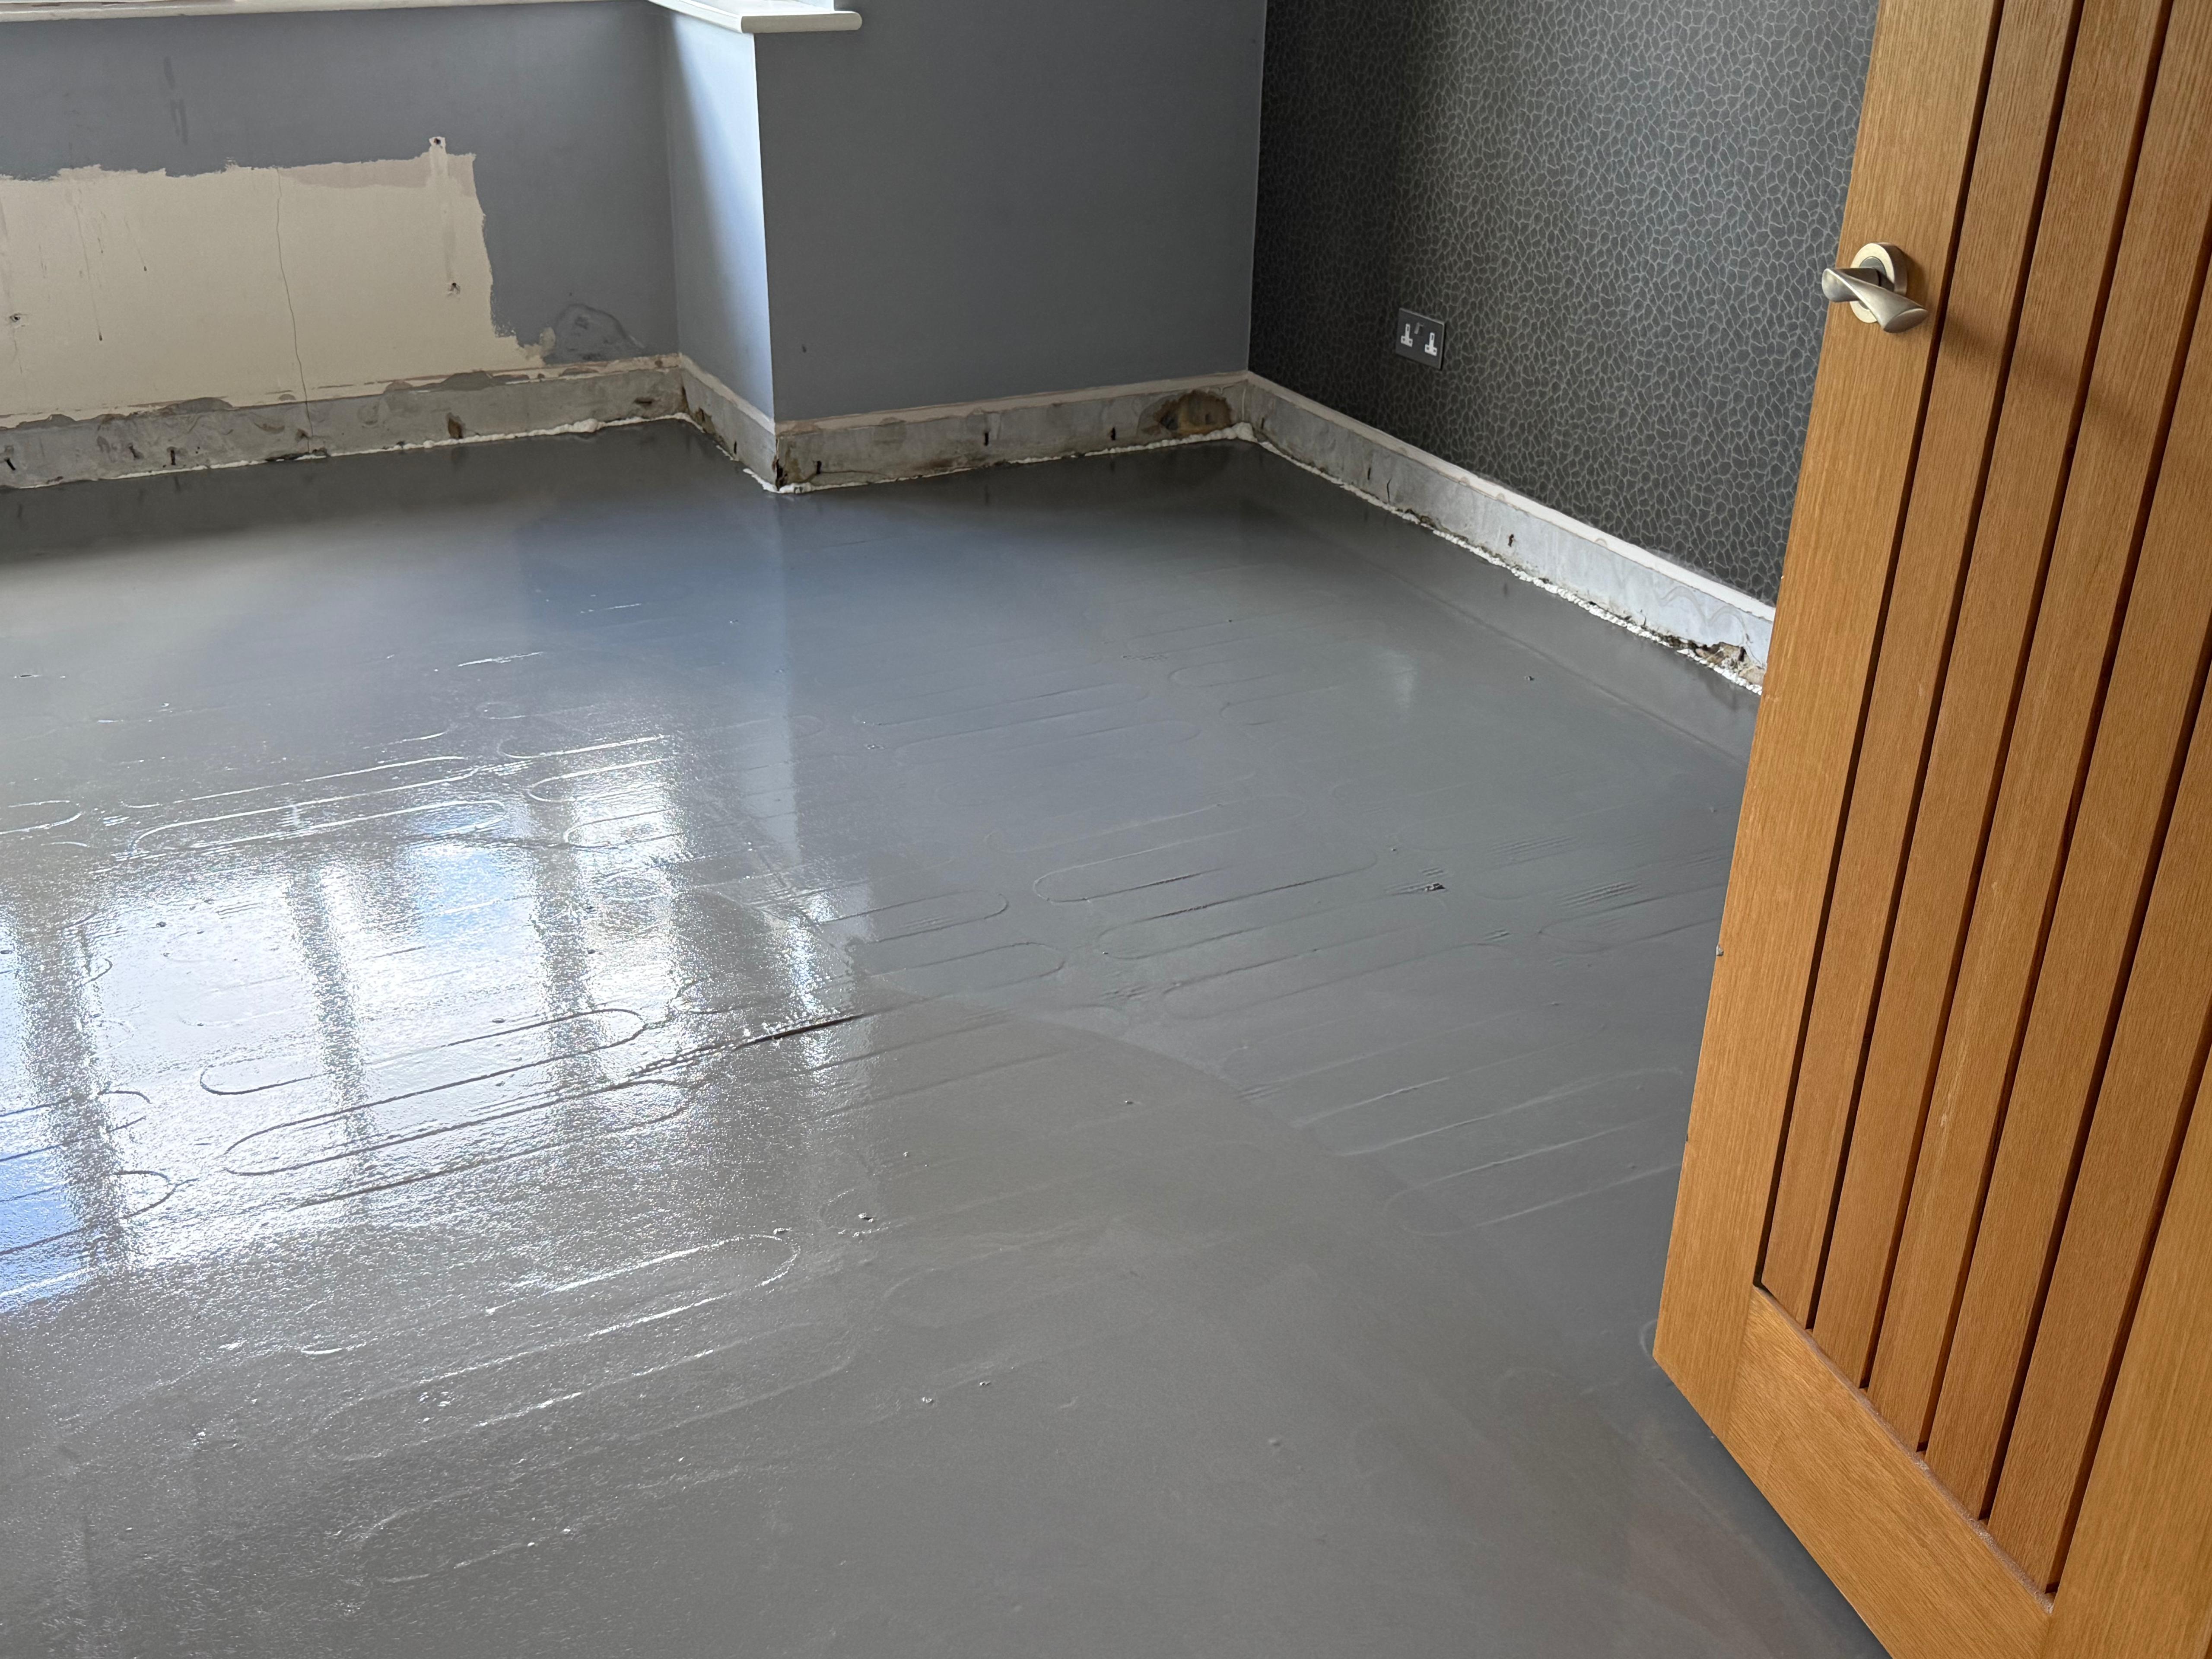
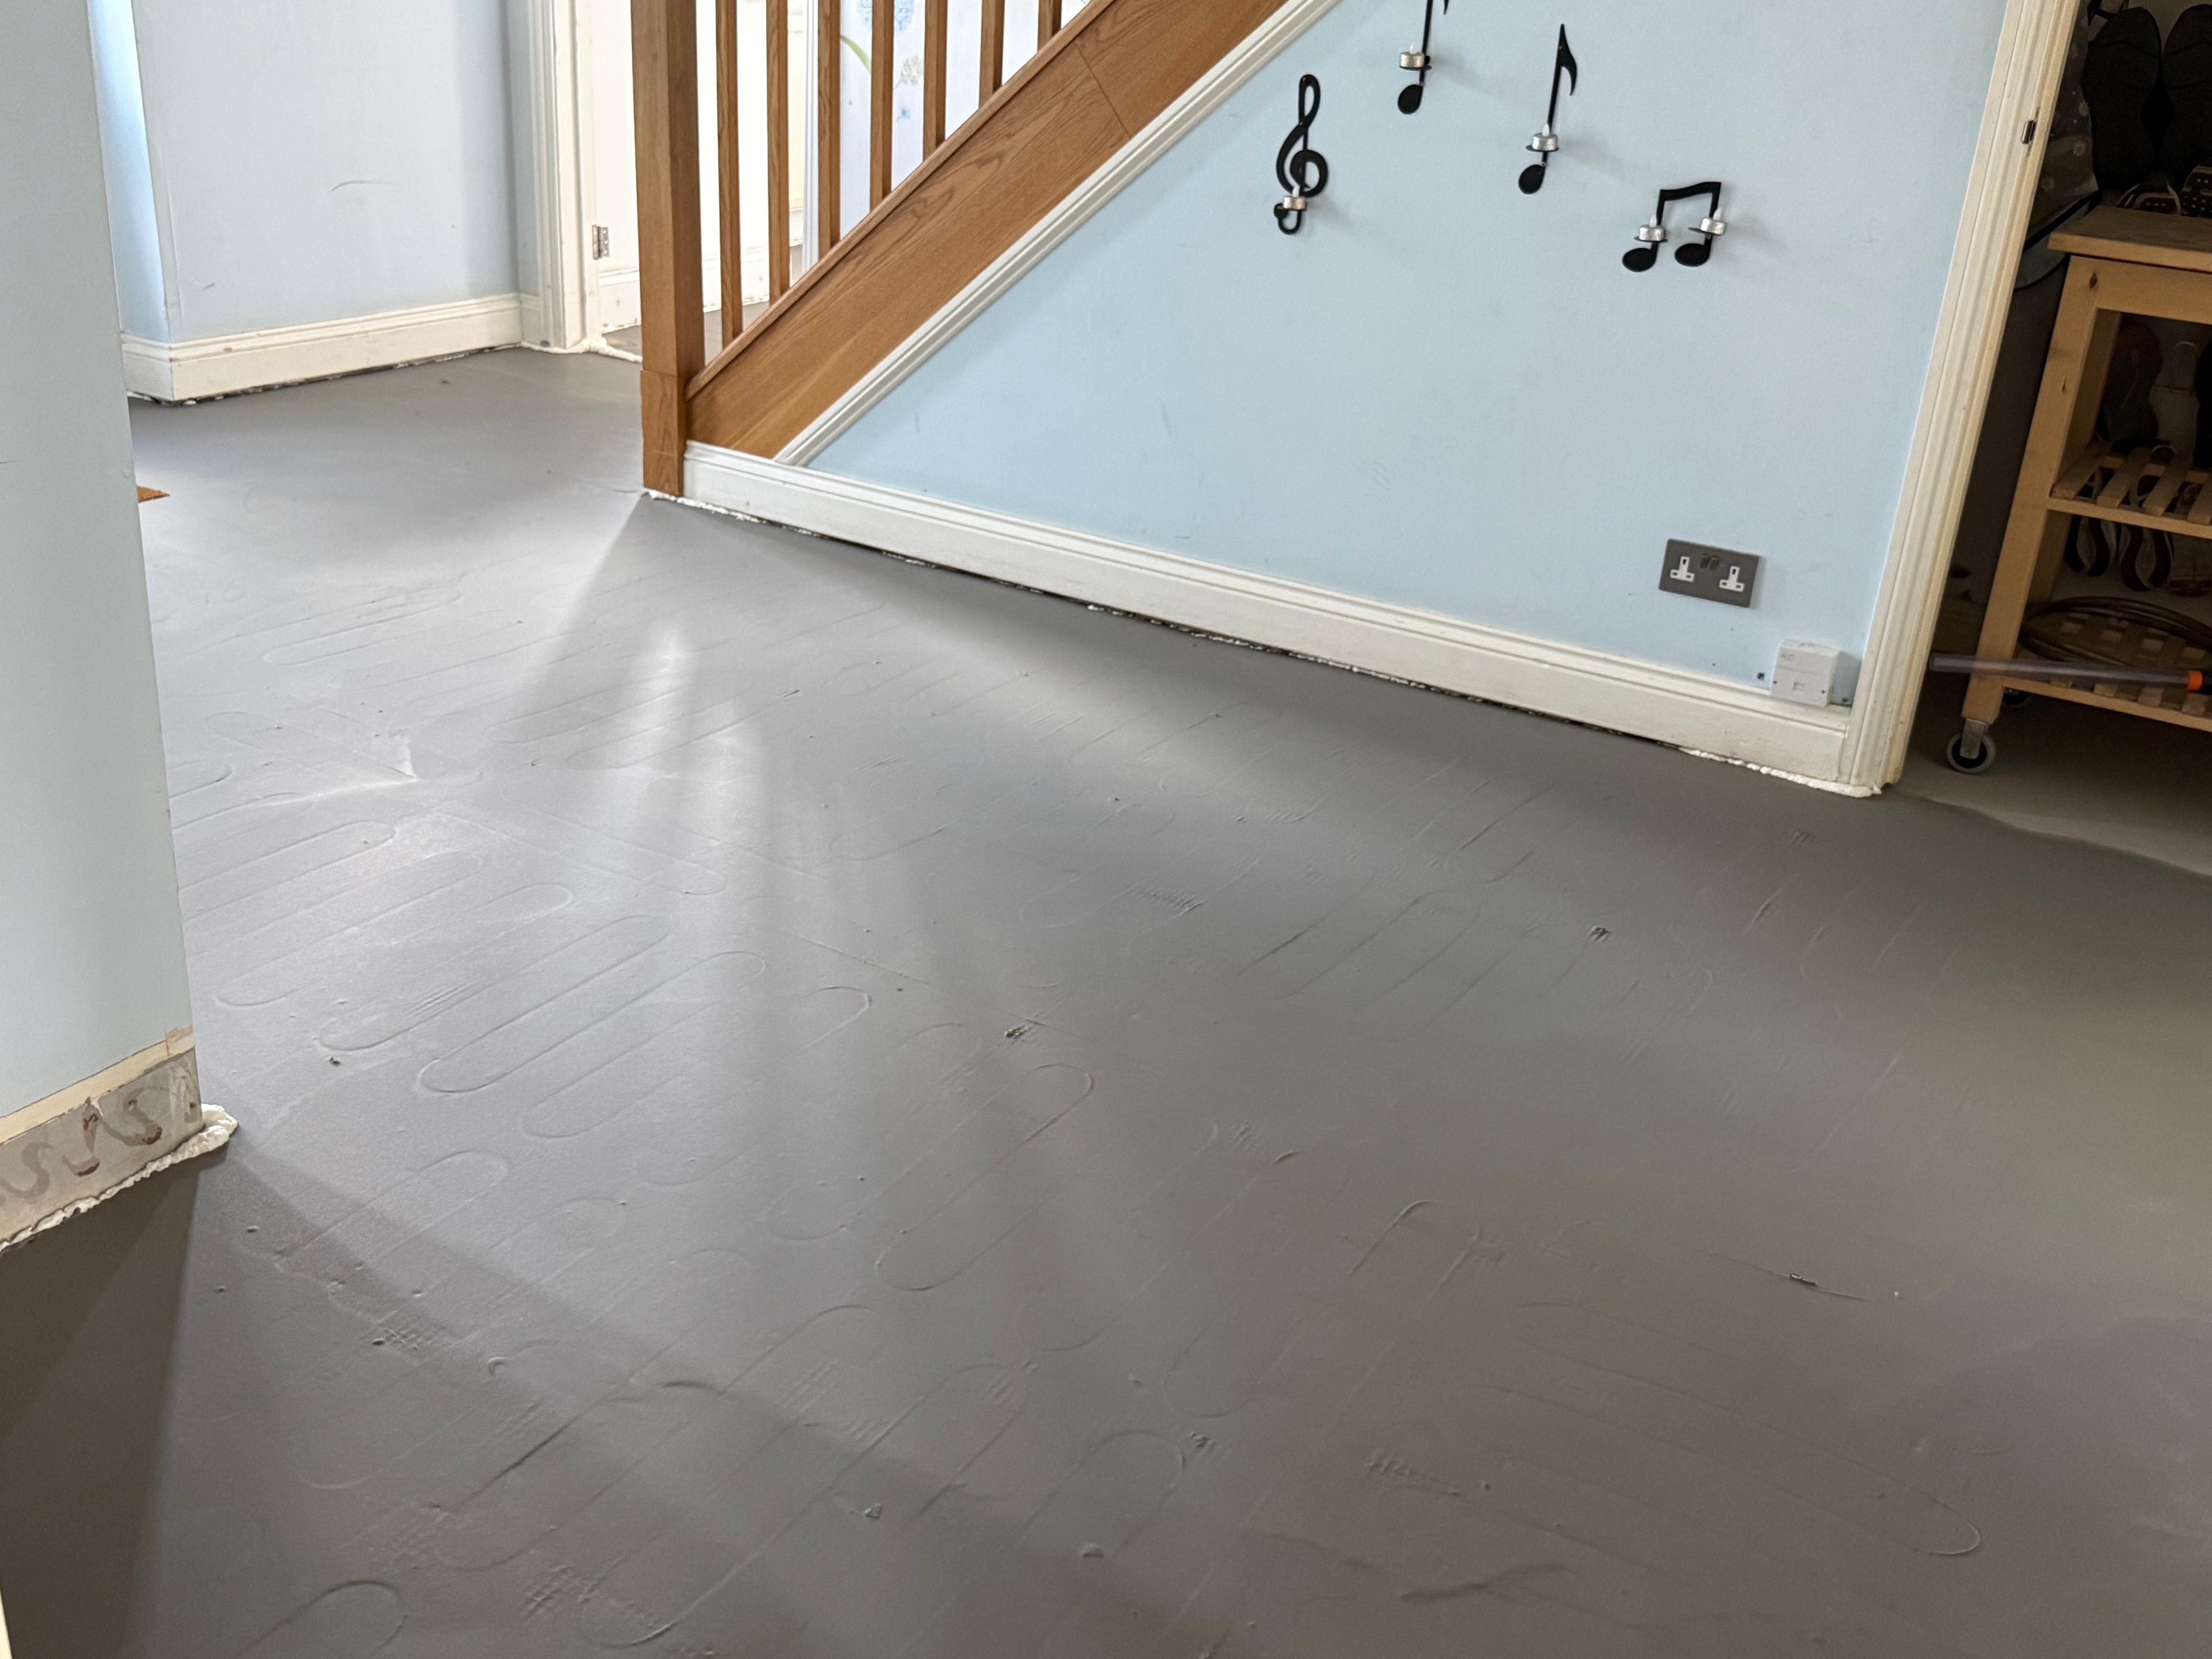
Self-levelling latex skim encapsulating the heating mats
Smart WiFi thermostats were commissioned and fully set up before the floor fitters returned. Manuals were sent to the client explaining how to use the thermostats, covering room-by-room scheduling and remote smartphone control. The floor was left fully encapsulated and ready for the floor fitter to apply the second skim of latex before laying the Amtico finish.
Can electric underfloor heating be retrofitted into an occupied home?
Yes — and with the right planning it can be done with very little disruption. Electric systems require no pipework or boiler modifications, meaning the installation is contained to the floor itself. With an experienced installer, a ground floor can typically be completed in two to three days.
Why use 10mm insulation boards rather than thinner alternatives?
Thicker insulation boards direct more heat upward into the room and less into the subfloor, reducing warm-up times and improving overall efficiency. The 10mm Insomax boards used here represent the best insulation performance available in this type of low-profile system.
Is electric underfloor heating suitable beneath Amtico flooring?
Yes. Amtico and other luxury vinyl tile floors are fully compatible with electric underfloor heating and are excellent thermal conductors. The combination delivers even, consistent warmth without the risk of thermal stress that can affect natural materials.
How do smart WiFi thermostats benefit an electric UFH system?
Smart thermostats allow room-by-room scheduling and remote control via smartphone — so the system can be adjusted or pre-heated from anywhere. Combined with the high insulation performance of the Insomax boards, this makes for a genuinely efficient and responsive heating system.
Ready to upgrade your home heating?
Rayotec installs electric underfloor heating across Berkshire and the surrounding area — for retrofits, refurbishments, new builds, and extensions.


